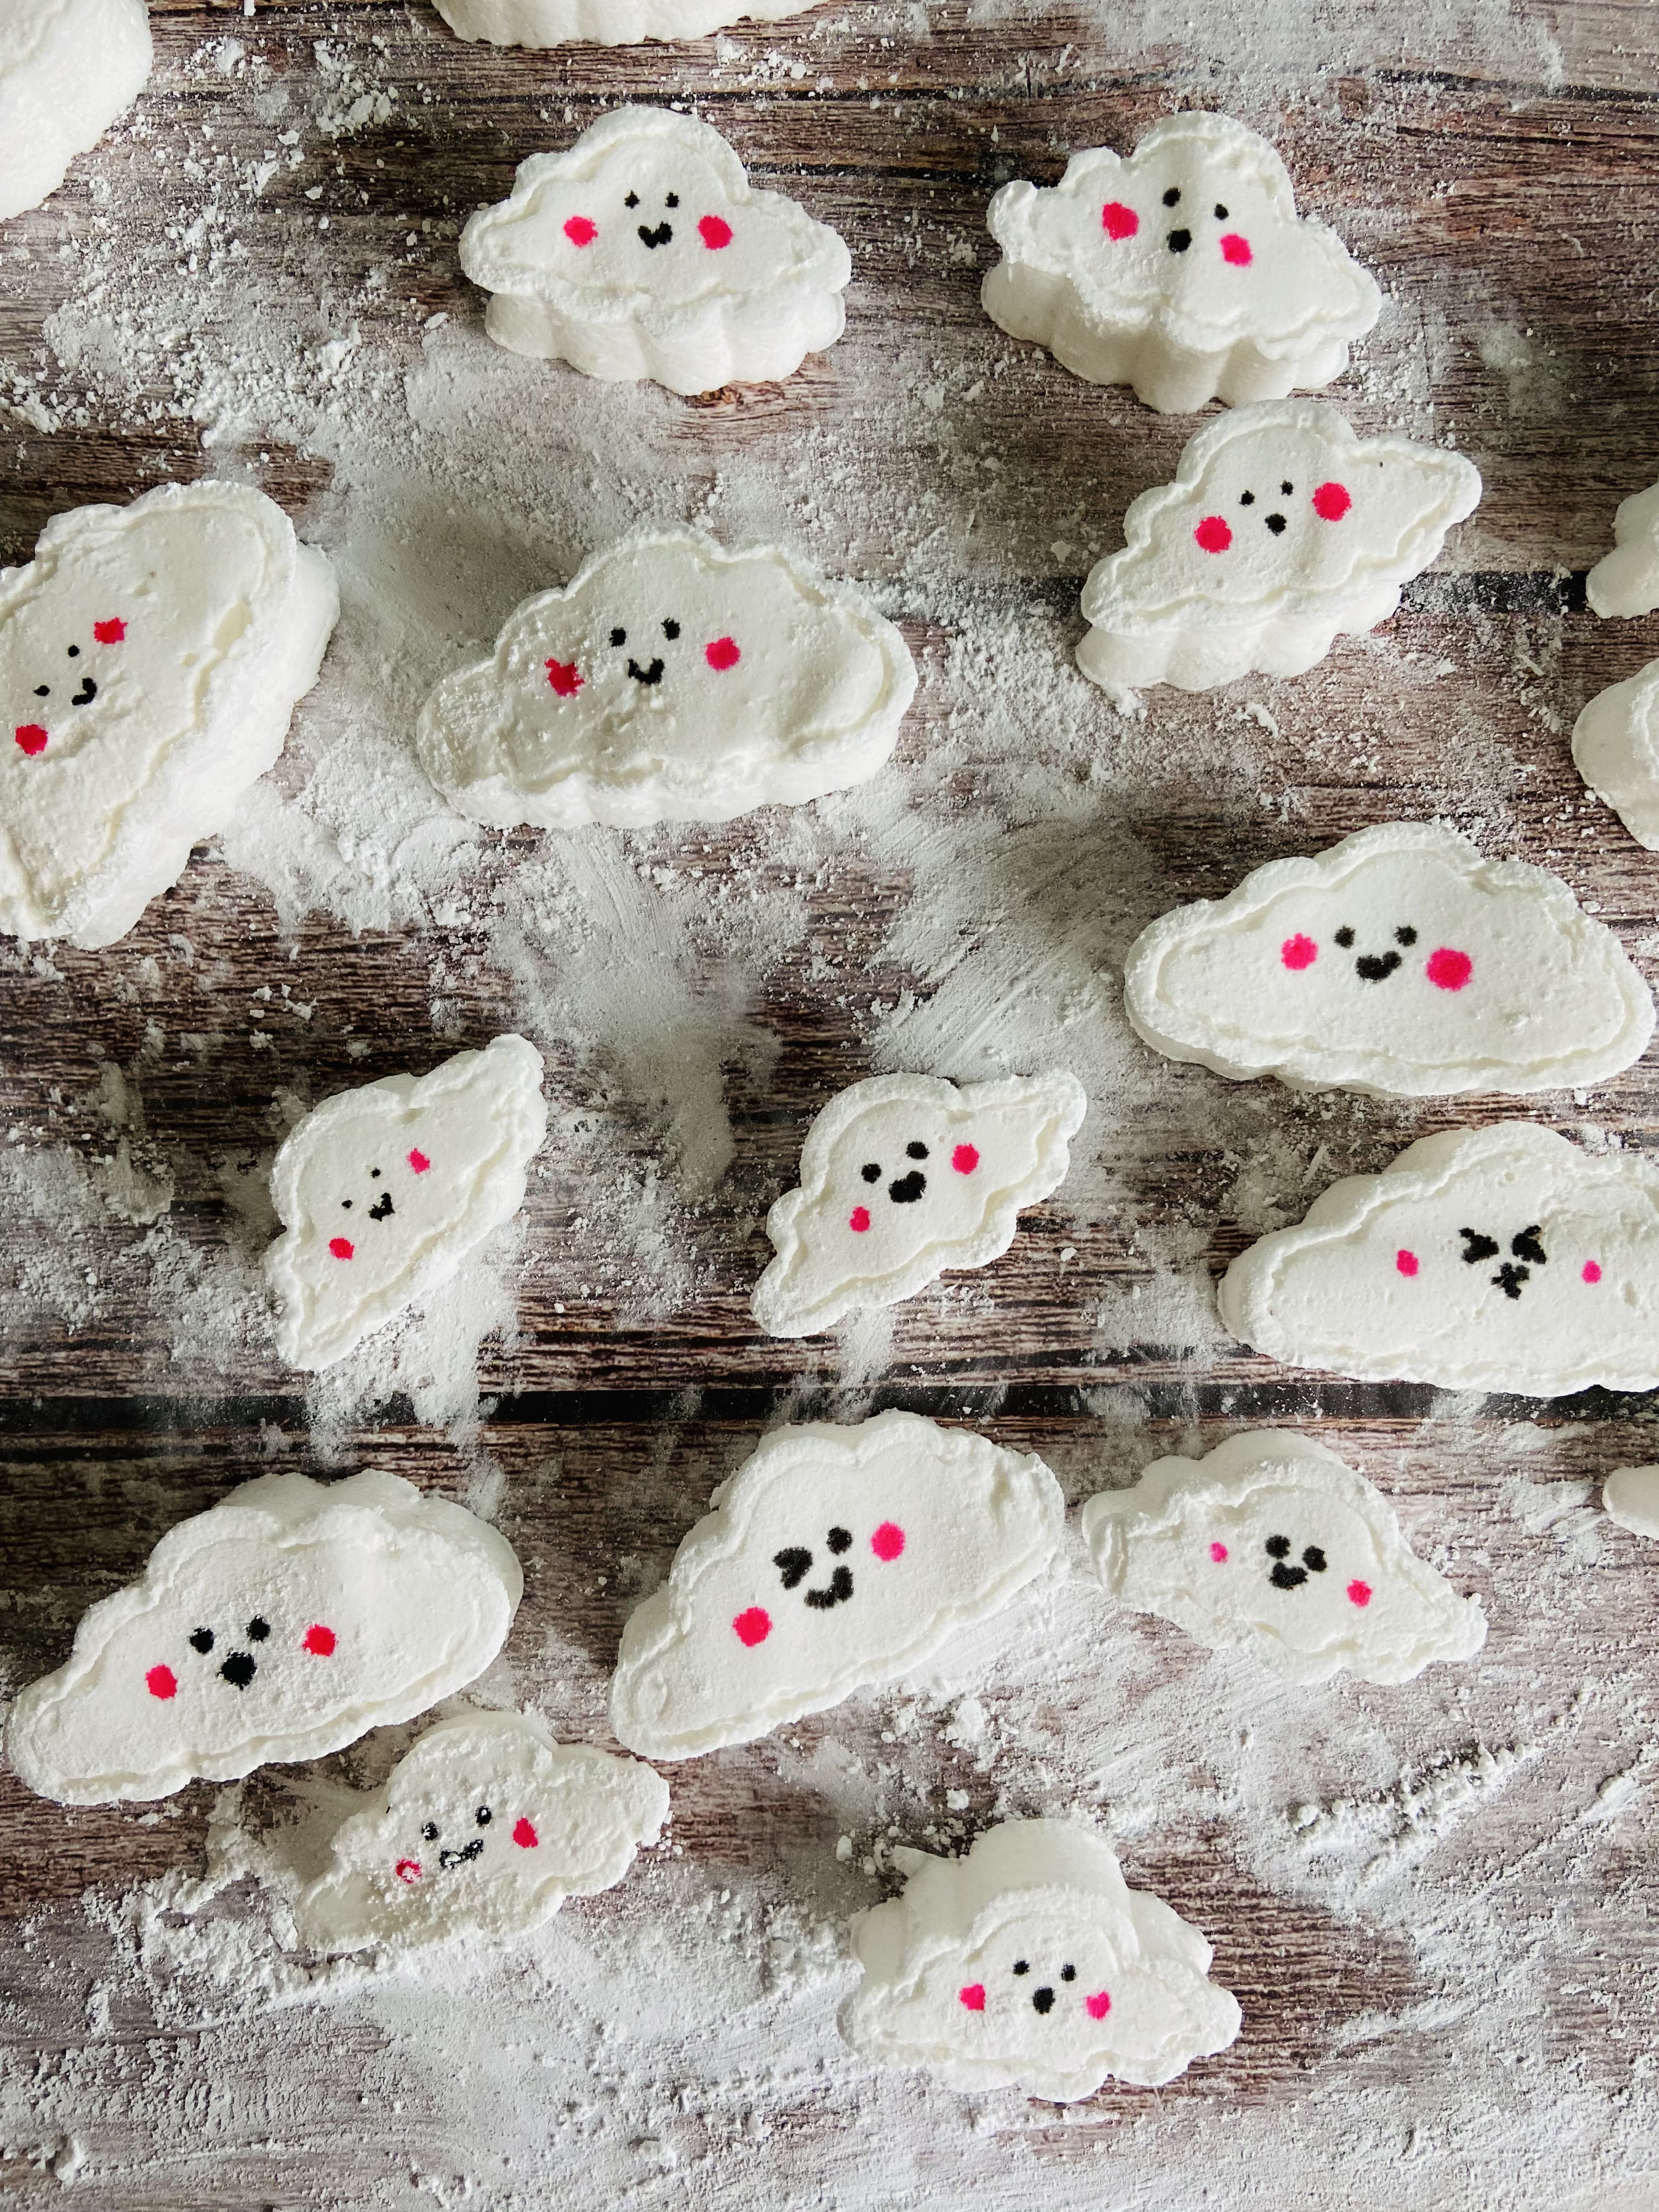
Much scientific research has shown* that drinking a hot chocolate with a homemade marshmallow cloud can increase overall happiness rates by up to 47%. If the marshmallow cloud has a face that happiness boost increases by eight percentage points.
In fact, some research** has even concluded that simply looking at a picture of a homemade marshmallow cloud with a smiley face can trigger the release of serotonin and boost feelings of contentment for up to 90 minutes. It’s very similar to petting a particularly fluffy dog you meet in the street or getting an unexpected rebate on your electricity bill.
Let’s try it shall we?
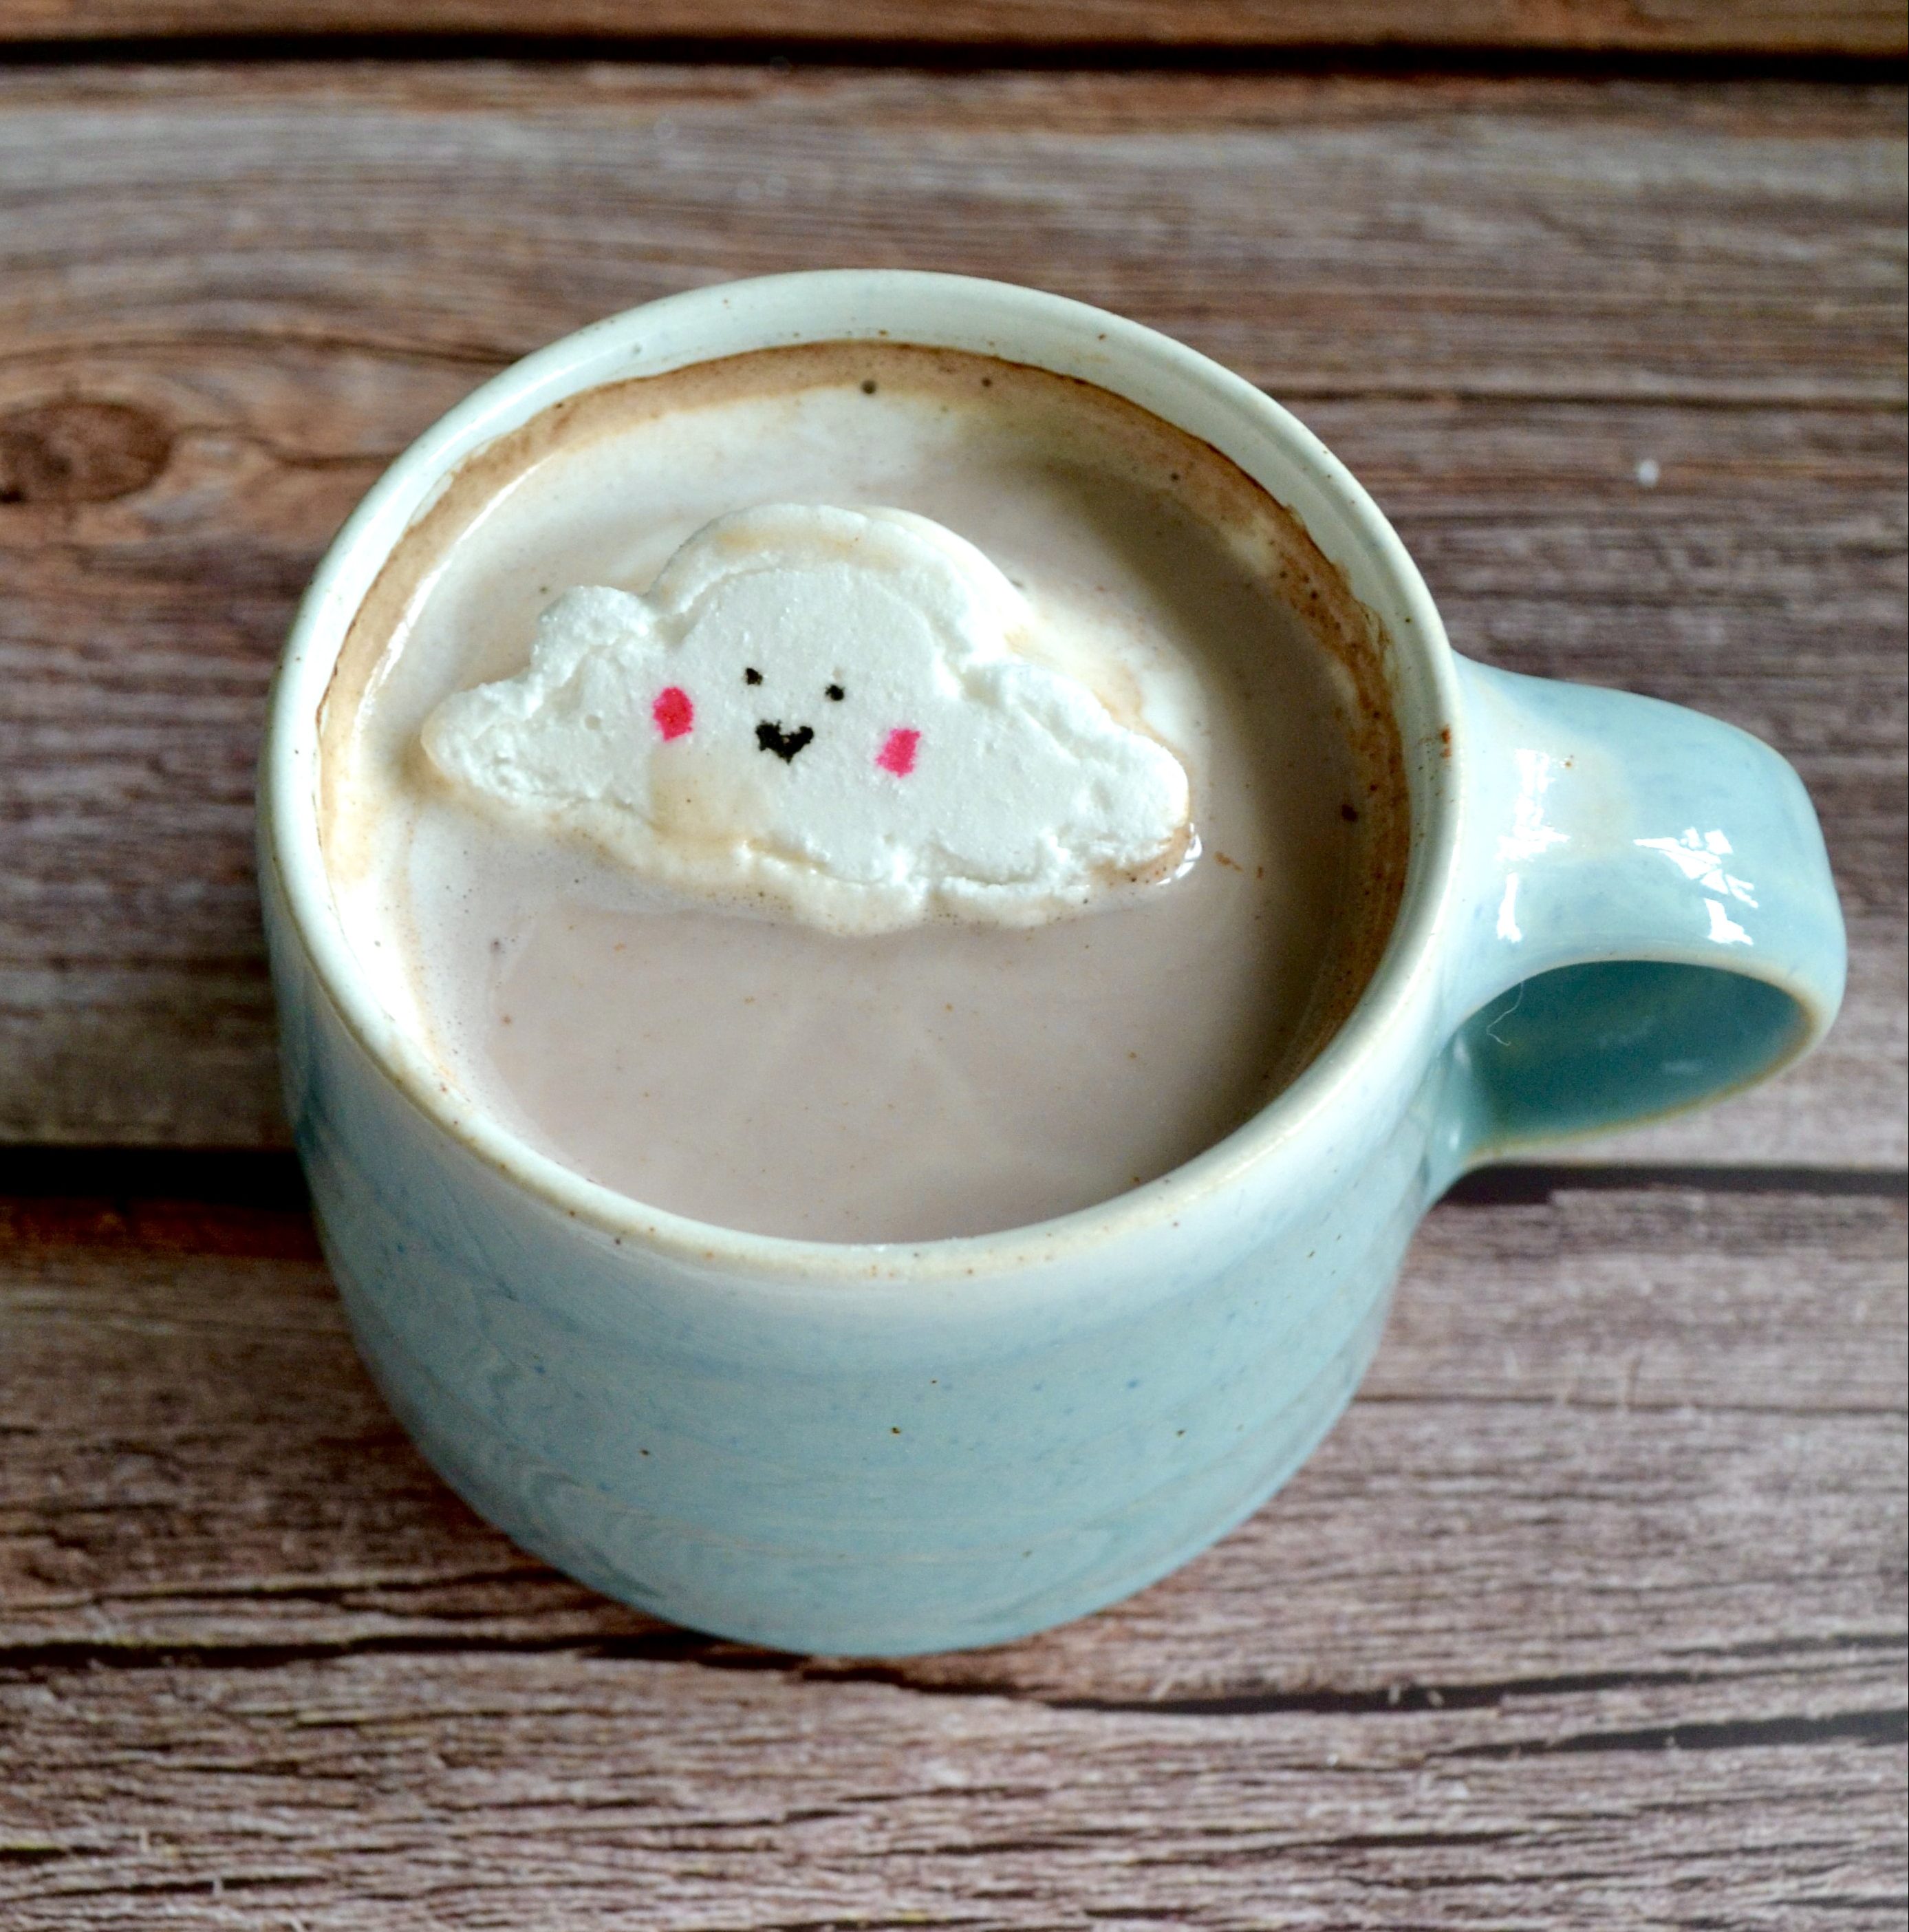
How do you feel? You feel better than you felt three minutes ago right? I knew it.
If you want to scale up the good feelings and recreate these marshmallow clouds at home, where you can see AND eat them, then here’s what you need:
Homemade marshmallow ingredients
To make your own marshmallows you will need:
- 10 sheets of leaf gelatine
- 250ml cold water
- 450g caster sugar
- 2 egg whites
- 2 tsp vanilla extract
- Icing sugar and cornflour for dusting
You’ll also need some edible pens for the faces, and some cloud cutters. I got these from Amazon. (That’s an affiliate link so if you buy them through that I get something like one pence, but I still have to tell you so you know I am a good person.)
How to make homemade marshmallow clouds
Soak the gelatine in 160ml of the water and put the rest of the water in a heavy based saucepan with the sugar. Bring to the boil and simmer for 10-15 minutes until it reaches 115 degrees. Stir in the gelatine and water mixture and transfer into a metal jug or bowl.
In a separate bowl, whisk the egg whites until the stiff peak stage and then add the vanilla extract and sugar syrup, whisking the whole time. Now keep whisking until it gets really boring and you wish you’d put on a podcast or something. You’re aiming for the mixture to be thick enough to hold it’s shape on the whisk. In the bowl it’s a bit like the texture of my upper thighs. If you know you know.
Line a large shallow baking tray, (or two small ones), with cling film and pour your marshmallow mixture in, smoothing it flat with the back of a damp spoon. Leave it to set for at least two hours at room temperature.
Once it’s set give everything a good dust with icing sugar and cornflour – the surfaces and the top of the marshmallow. Take the marshmallow out of the tray and peel off the cling film, dusting all the freshly exposed marshmallow too. You don’t want it to be sticky at all.
Then it’s time to cut out your marshmallow clouds.
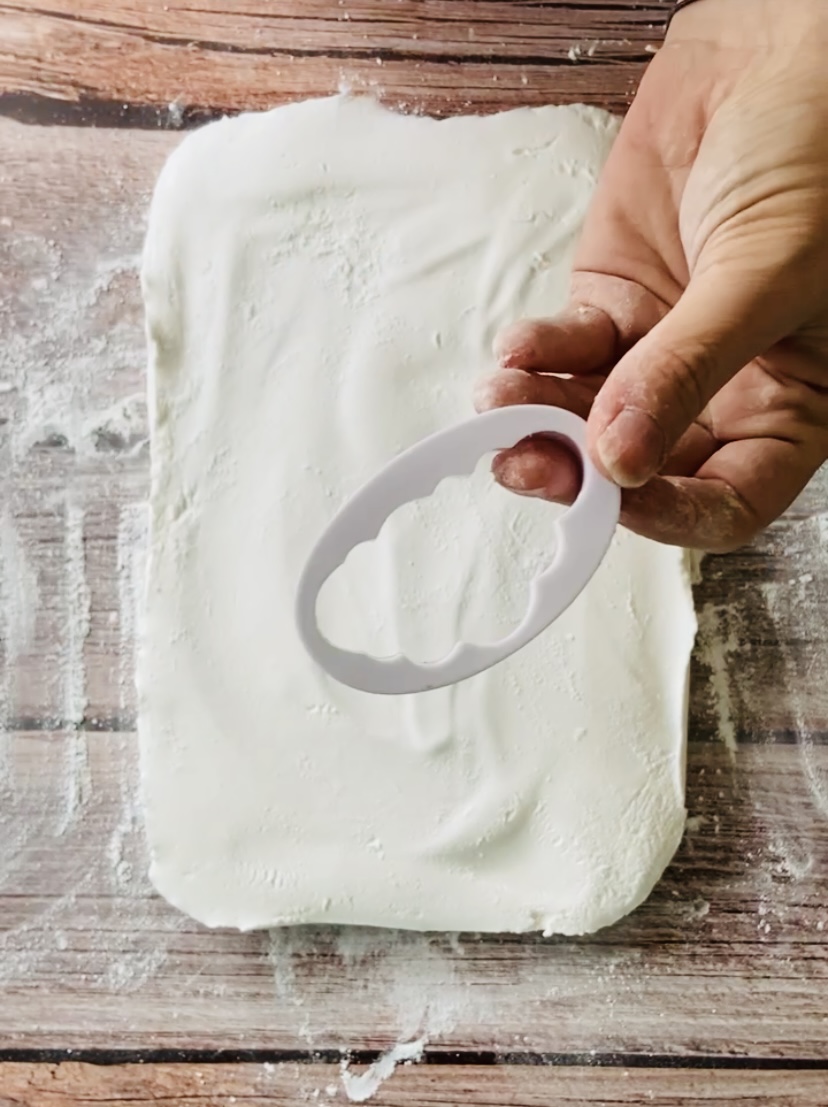
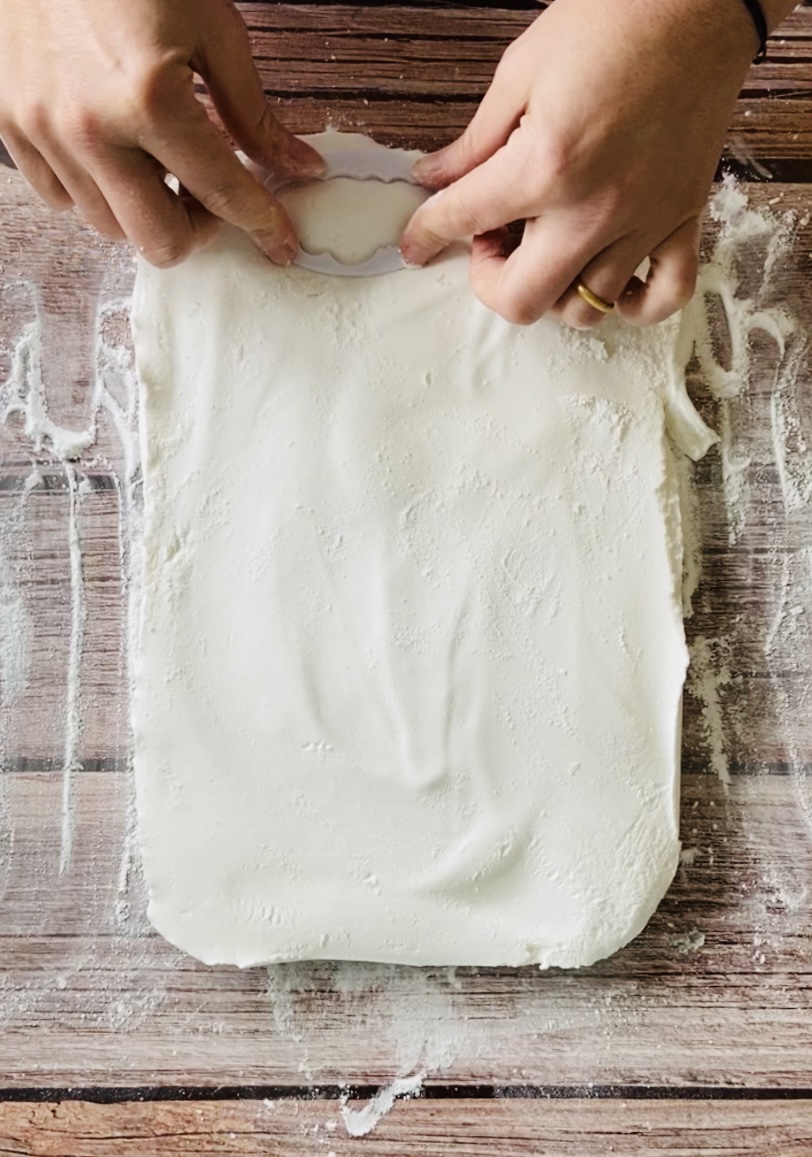
Once you’ve cut out all of your cloud shapes, chop the leftovers into chunks. These are still just as tasty so you don’t want to waste them.
Then get your black and pink pens and start decorating! I found a fine edible black pen worked best for the eyes and mouth, as it bled less than a felt pen, but a felt tip worked well for the rosy cheeks.
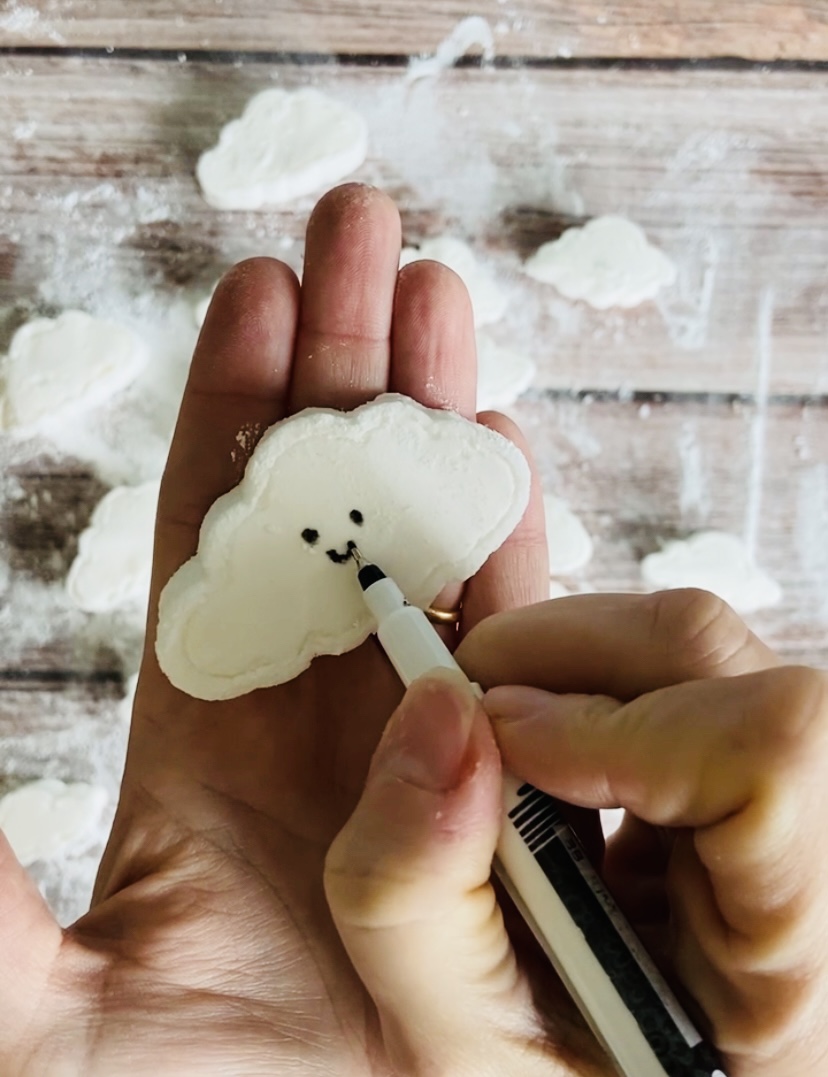
You can have fun playing around with the decorating stage, creating different expressions on your marshmallows until you have a whole cloud family. My favourite is the surprised looking one at the very bottom.
PRO TIP: Don’t get too attached, you’re going to eat these little chums.
Do I need a sugar thermometer to make marshmallow?
Ideally yes, you do need a sugar thermometer to make homemade marshmallows, because you need to catch the syrup at the right temperature. However, mine wouldn’t work, despite me switching it on and off several times and shouting at it, and my marshmallows turned out okay. My recipe said I needed to get to 115 degrees, so I just let it come to the boil and bubble for a bit while I watched anxiously, shaking the thermometer and cursing under my breath. I’ve seen other marshmallow recipes say 130 degrees rather than 115, so it can’t be that important.
How long do homemade marshmallows last?
I’m assuming this is a rhetorical question because mine lasted NOT LONG. I had to Google ‘are you meant to keep homemade marshmallows in the fridge?’ and you are not, so that’s good to know. Instead keep them in an airtight tin, layered with greaseproof paper. Apparently then can last for ages then – like a month – but let’s be real, they’re not going to be around after a month.
If you do want to keep your marshmallow clouds for a while then I recommend leaving some without faces, as the pen does bleed after a while and the faces can be quite scary to open the tin to the next morning.
I hope you enjoy making your own homemade marshmallows! If you like this you might like my homemade Jaffa cake recipe or homemade party rings. (I was especially impressed with myself for the icing on those.) Or how about homemade Snickers bars? Apparently they taste better than the real thing. Just saying.
*Literally no research has been done as far as I know.
**Honestly, none at all. What a gap in the scientific market.
