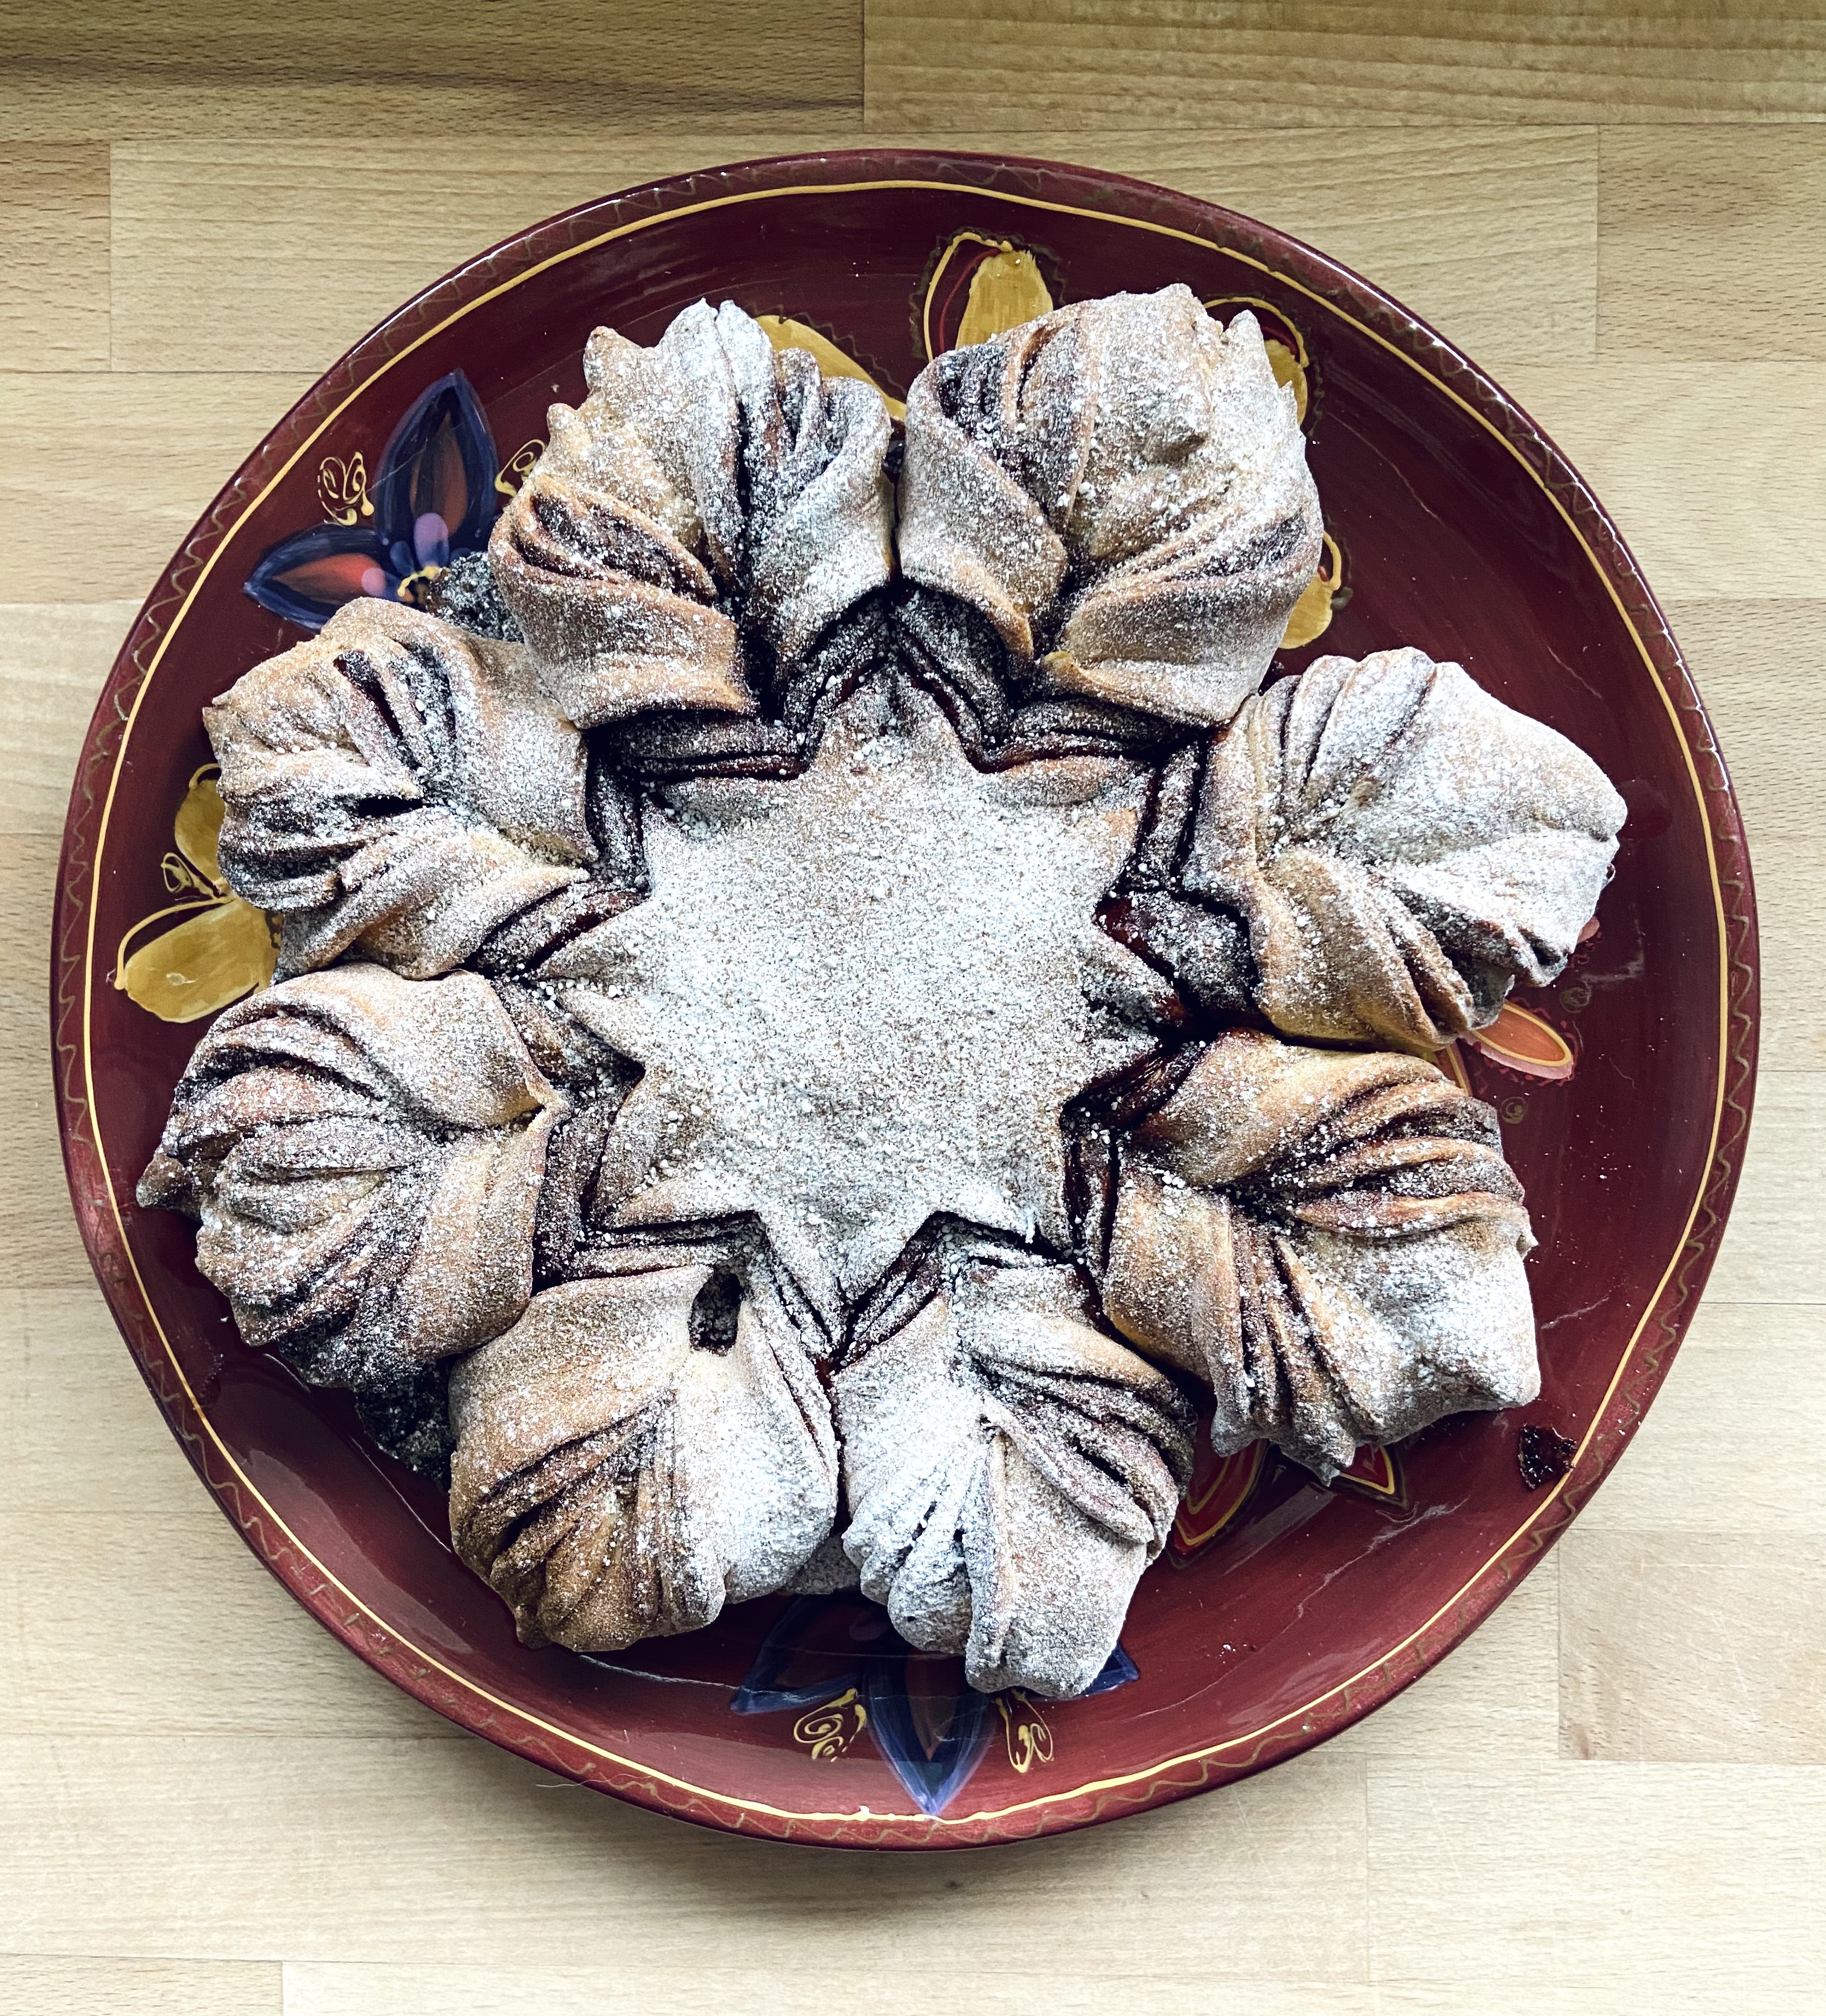
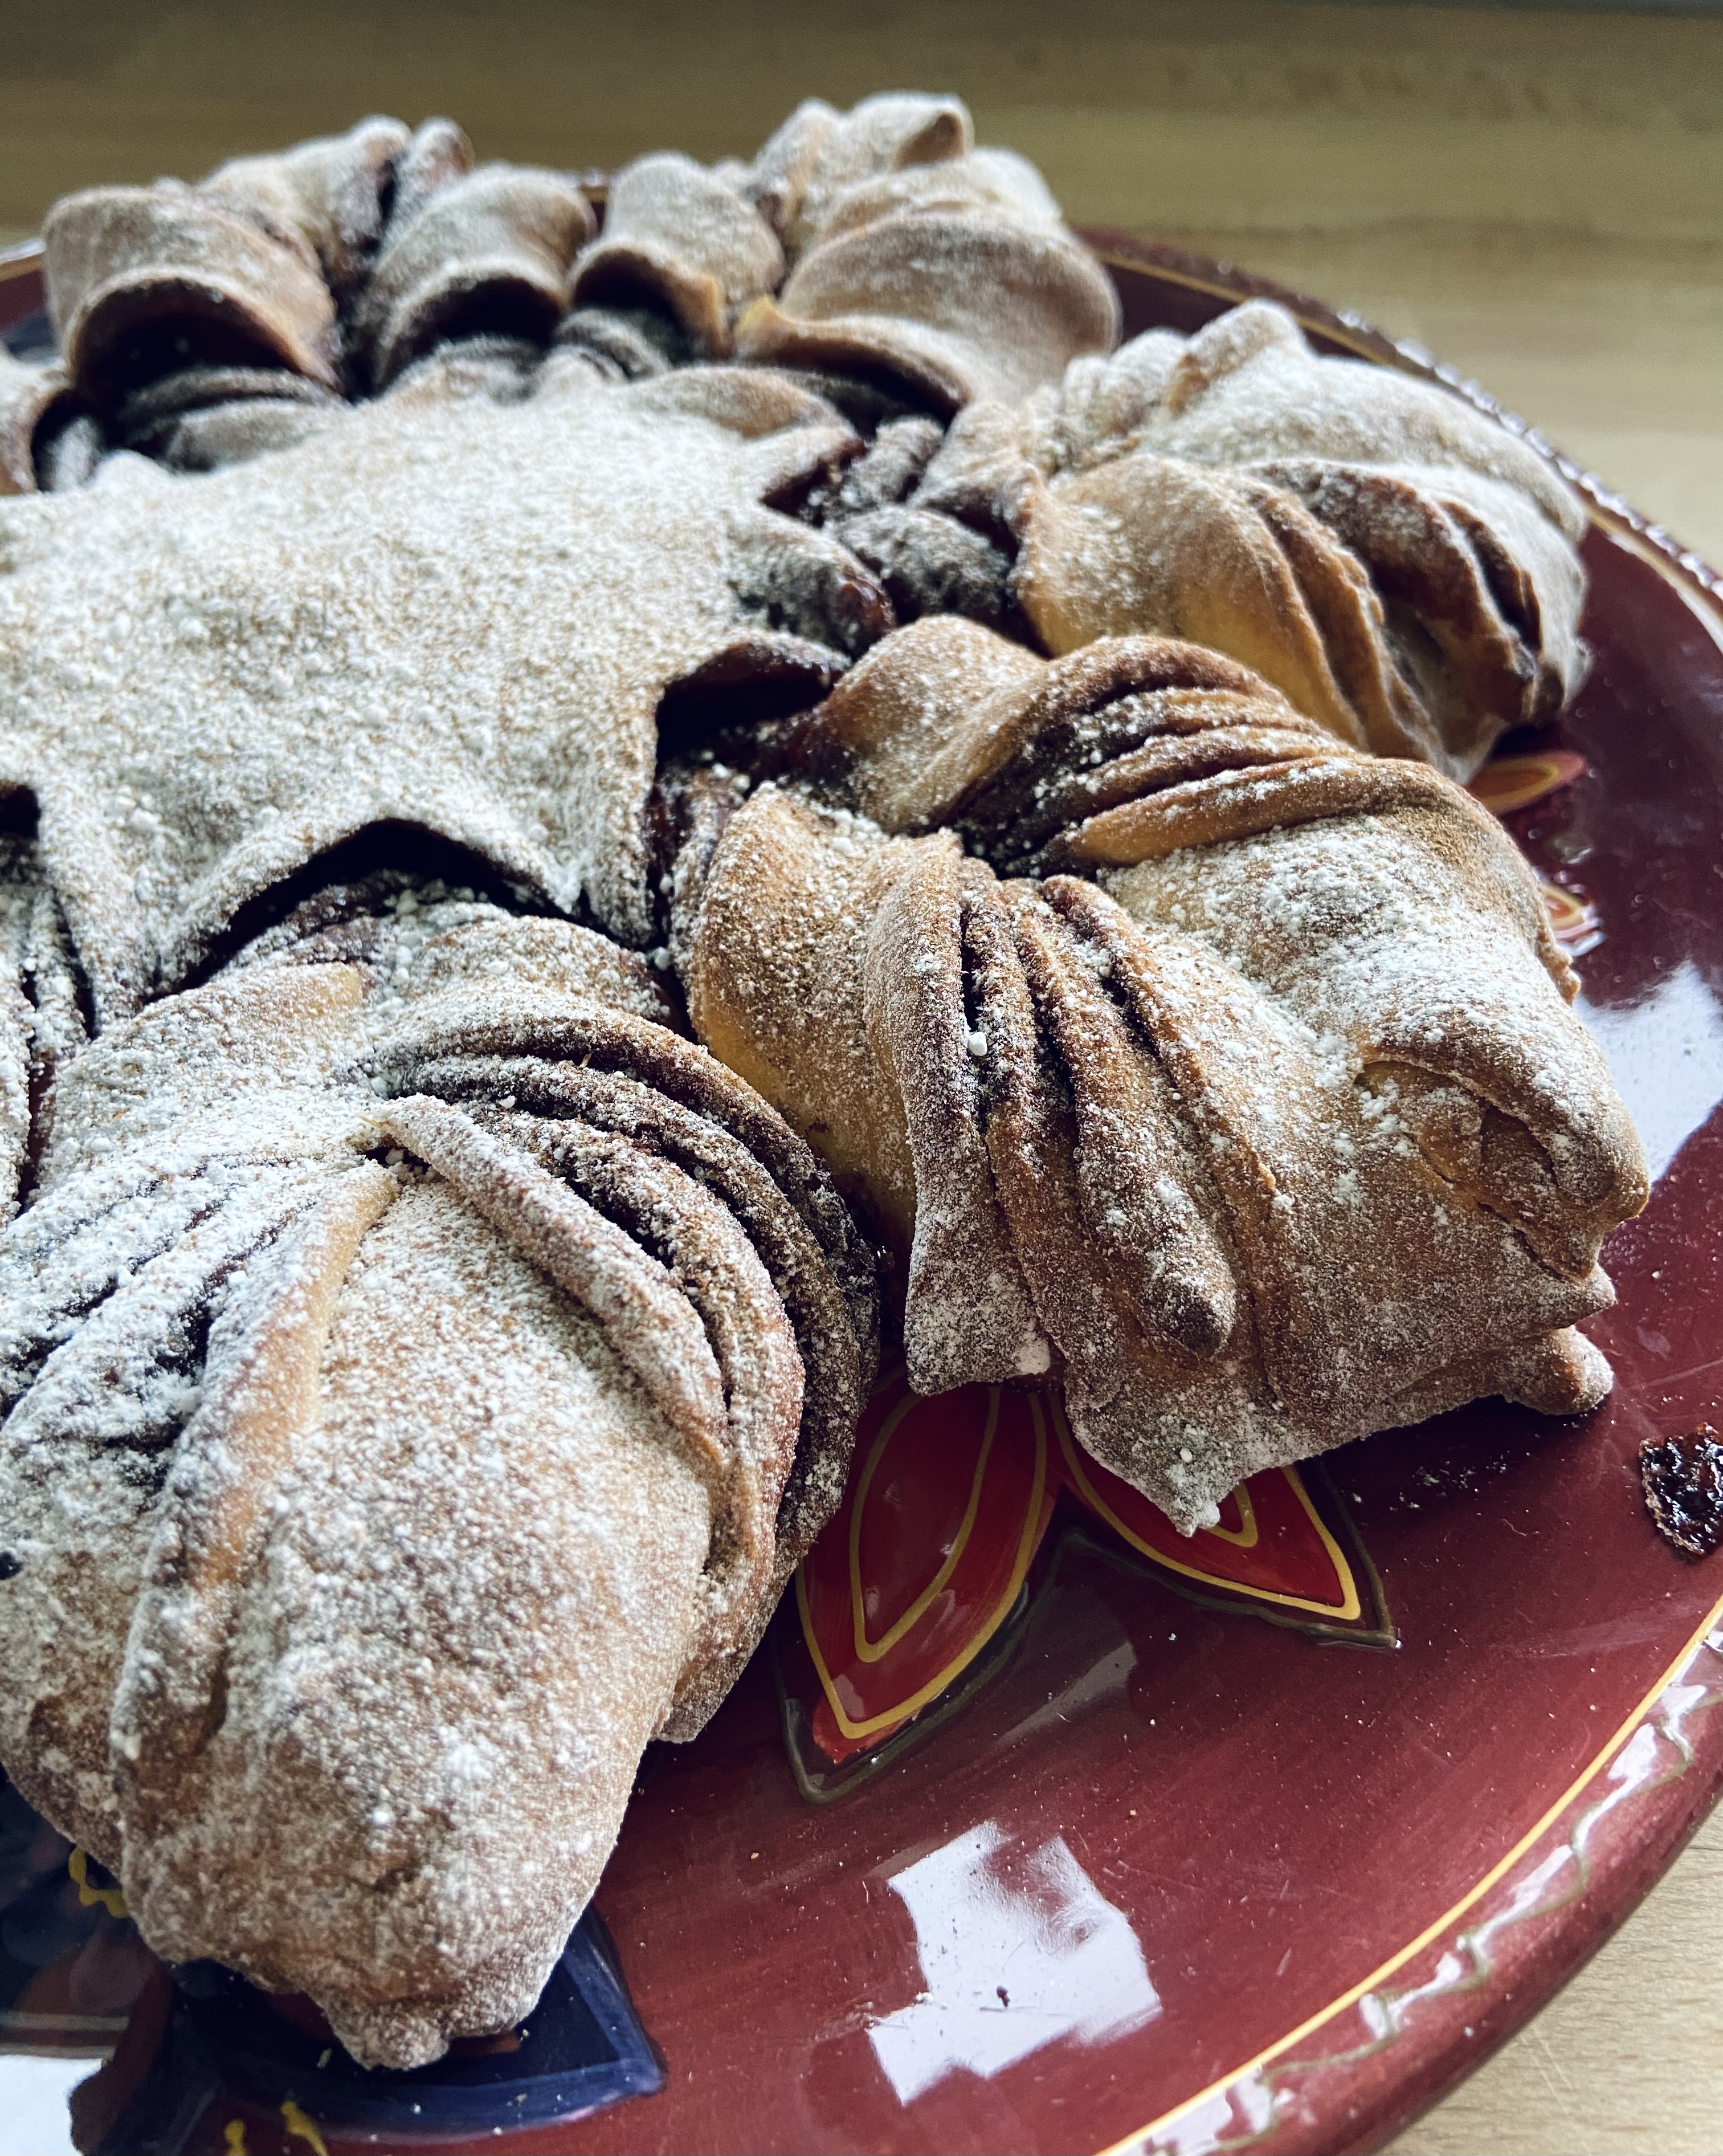
I made this tear and share chocolate star bread in January 2021, in full lockdown banana bread hysteria mode, but as lockdown also left me feeling like I’d much rather be making and eating chocolate bread than actually writing about it, I’m only just getting around to this post now.
Never mind. As Bee always says when she’s editing stuff I’ve written – no one will miss it because they won’t know it was there in the first place.
It’s here now, and that’s the main thing, because it really is worth telling you about. It’s the kind of baking that ticks a lot of boxes – it’s very fun to do, it makes an excellent picture for Instagram AND it tastes good. Normally I’m a ‘two out of three ain’t bad’ kind of girl with cooking, (RIP Meatloaf), so this star bread nails it.

See? I told you it was good for Instagram – nice and symmetrical and square, like we used to do in the old days. Bung a polaroid photo style border around it, job done.
As you’re here you’re probably wondering how to make it. I tore the recipe out of a copy of one of the Tesco magazines sometime in late 2020, but I did share a picture of it on Instagram at the time, which I’ve managed to find. I’ve zoomed in, squinted a bit, and hopefully have got all the ingredients right.
To make chocolate star bread you will need…
- 85ml whole milk
- 25g unsalted butter
- 250g self-raising flour, plus extra for dusting
- 0.5 tsp salt
- 1.5 tsp dried yeast
- 30g caster sugar
- 1 egg + 1 yolk, beaten
- 100g chocolate spread
- 0.5 tsp of cinnamon and some icing sugar for dusting
The whole process should take about 90 minutes and you don’t need any special tins or anything, just a baking sheet, as you shape it by hand.
Tear and share chocolate bread – method
Heat the milk and butter in a pan until the butter has melted, and set this to one side for later. Then put the flour, salt, yeast and sugar in a large mixing bowl and give it a quick stir to combine. Add the egg, yolk and butter/milk liquid and mix it all together to form a dense dough. Cover and leave somewhere warm for about 45 minutes. It’s only going to rise a tiny bit, so don’t panic if it doesn’t look massively different at the end of the time.
Now comes the fun stage. I actually made a very short video showing this bit – my first ever reel in fact – which you can watch on Instagram if you learn better by watching rather than reading. It’s here. Go ahead, I’ll wait.
*waits while you watch the video*
Did that make sense? Good. I’ll explain it too if you don’t mind, just for the non-Instagram people.
Lightly flour a surface and split your dough into four equal balls. Roll out each into a circle roughly 22cm in diameter. Place one circle on a paper lined baking tray and spread the centre with a third of the chocolate spread, leaving a chocolate free 5cm border around the edge. Layer another circle on top and repeat until you have all four circles stacked with a layer of chocolate spread between each.
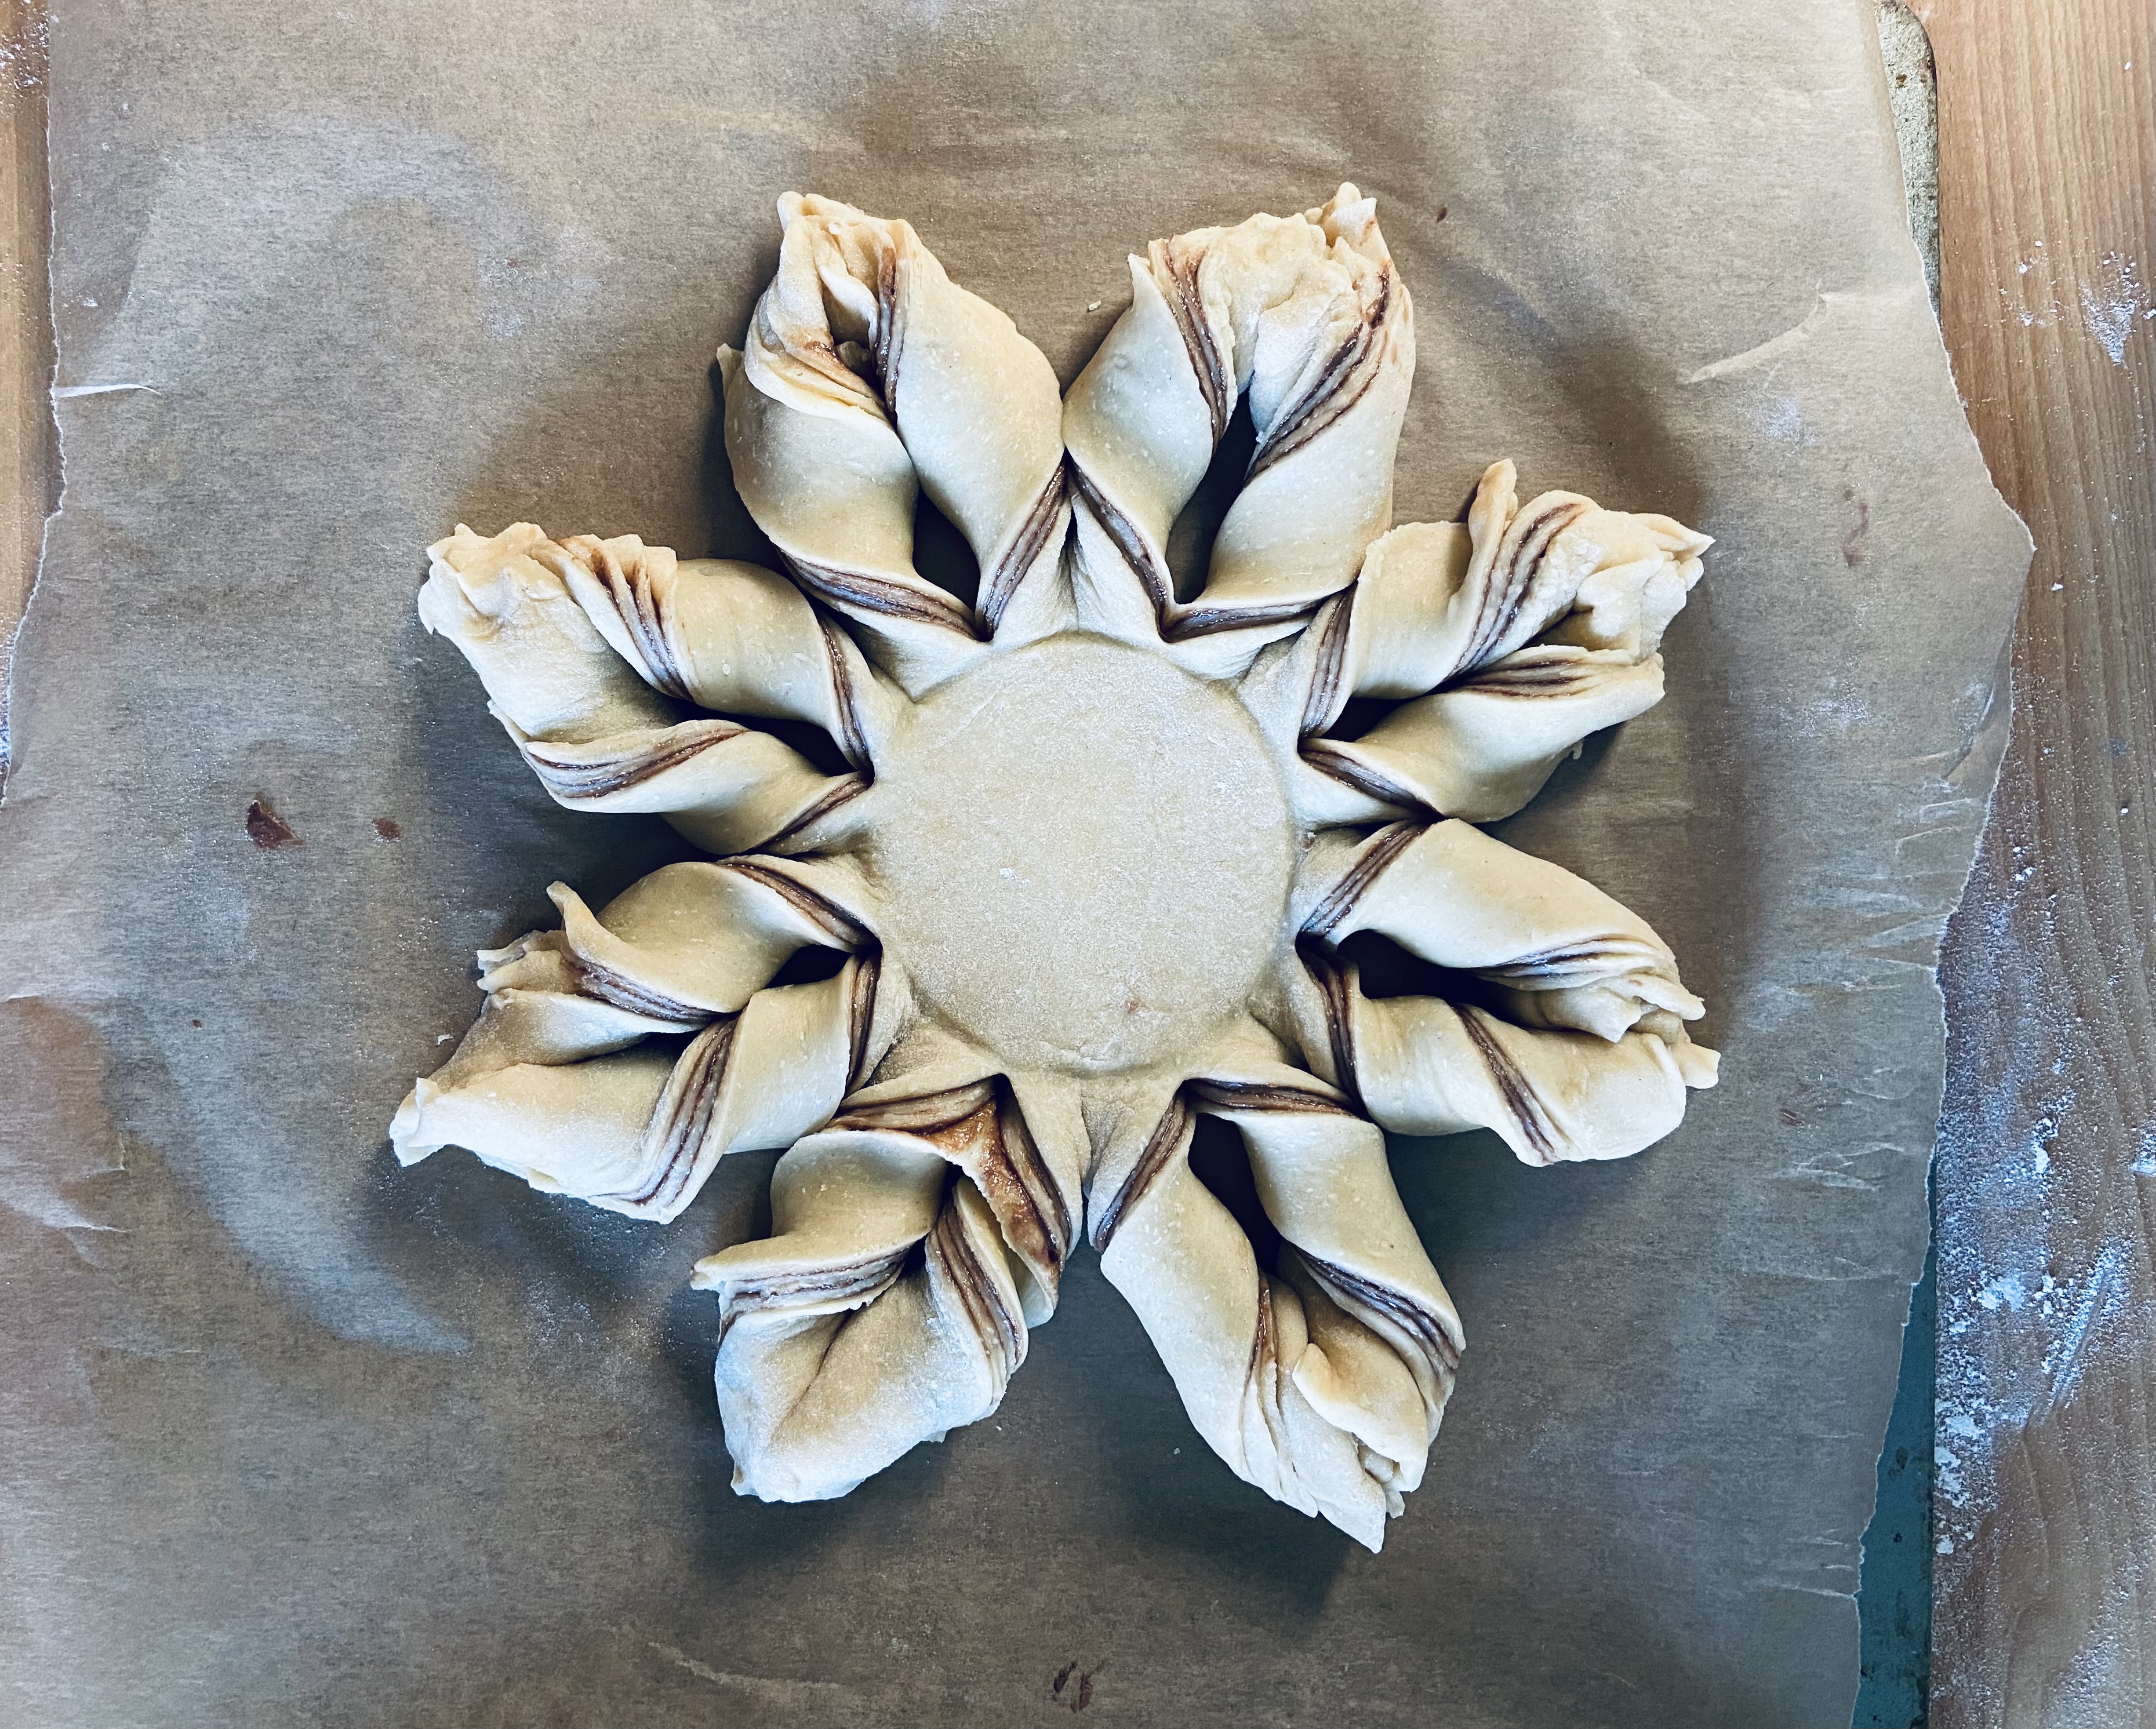
Place a mug in the centre of the stack and slice the dough around it into eight equal pieces, radiating out from the mug. Take away the mug and split each of the eight segments again to give you 16. Take one pair of segments, one in each hand, and gently twist each outwards, away from each other, pressing them together at the end to make a star point.
It should now look like this:

Does yours look like that? Jolly good.
Let it sit for 10 minutes for a final prove, and while you’re waiting, preheat the oven to gas 7, 220 degrees, or 200 for a fan oven.
Pop it in the oven and after ten minutes cover it loosely with foil and bring the temperate down by one gas mark or 20 degrees. Leave to cool for just a few minutes then dust with icing sugar and cinnamon if you’d like to. It’s best served warm, ideally with friends and dunked into hot chocolate. I made mine during a lockdown though so can vouch for it being perfectly feasible to eat the entire thing yourself if you are fully committed.

If you liked this you might like my homemade Jaffa cakes or giant bourbon cake.

That looks so amazing!
Danielle | thereluctantblogger.co.uk
Author
Thank you! It was very satisfying to make for sure.