
Hello and welcome to another ‘I made this a year ago and I’m just catching up!’ post. I’m very happy to have you here. I made this focaccia flower art bread around the same time as the tear and share chocolate star bread I posted a few days ago, and it has taken me an equally long time to actually get round to telling you about it.
You might say that the moment has passed, many, (many) months ago, and I that should do something new instead, but this focaccia bread art is just so damn pretty and I was so proud of it, I’m going to make you look.
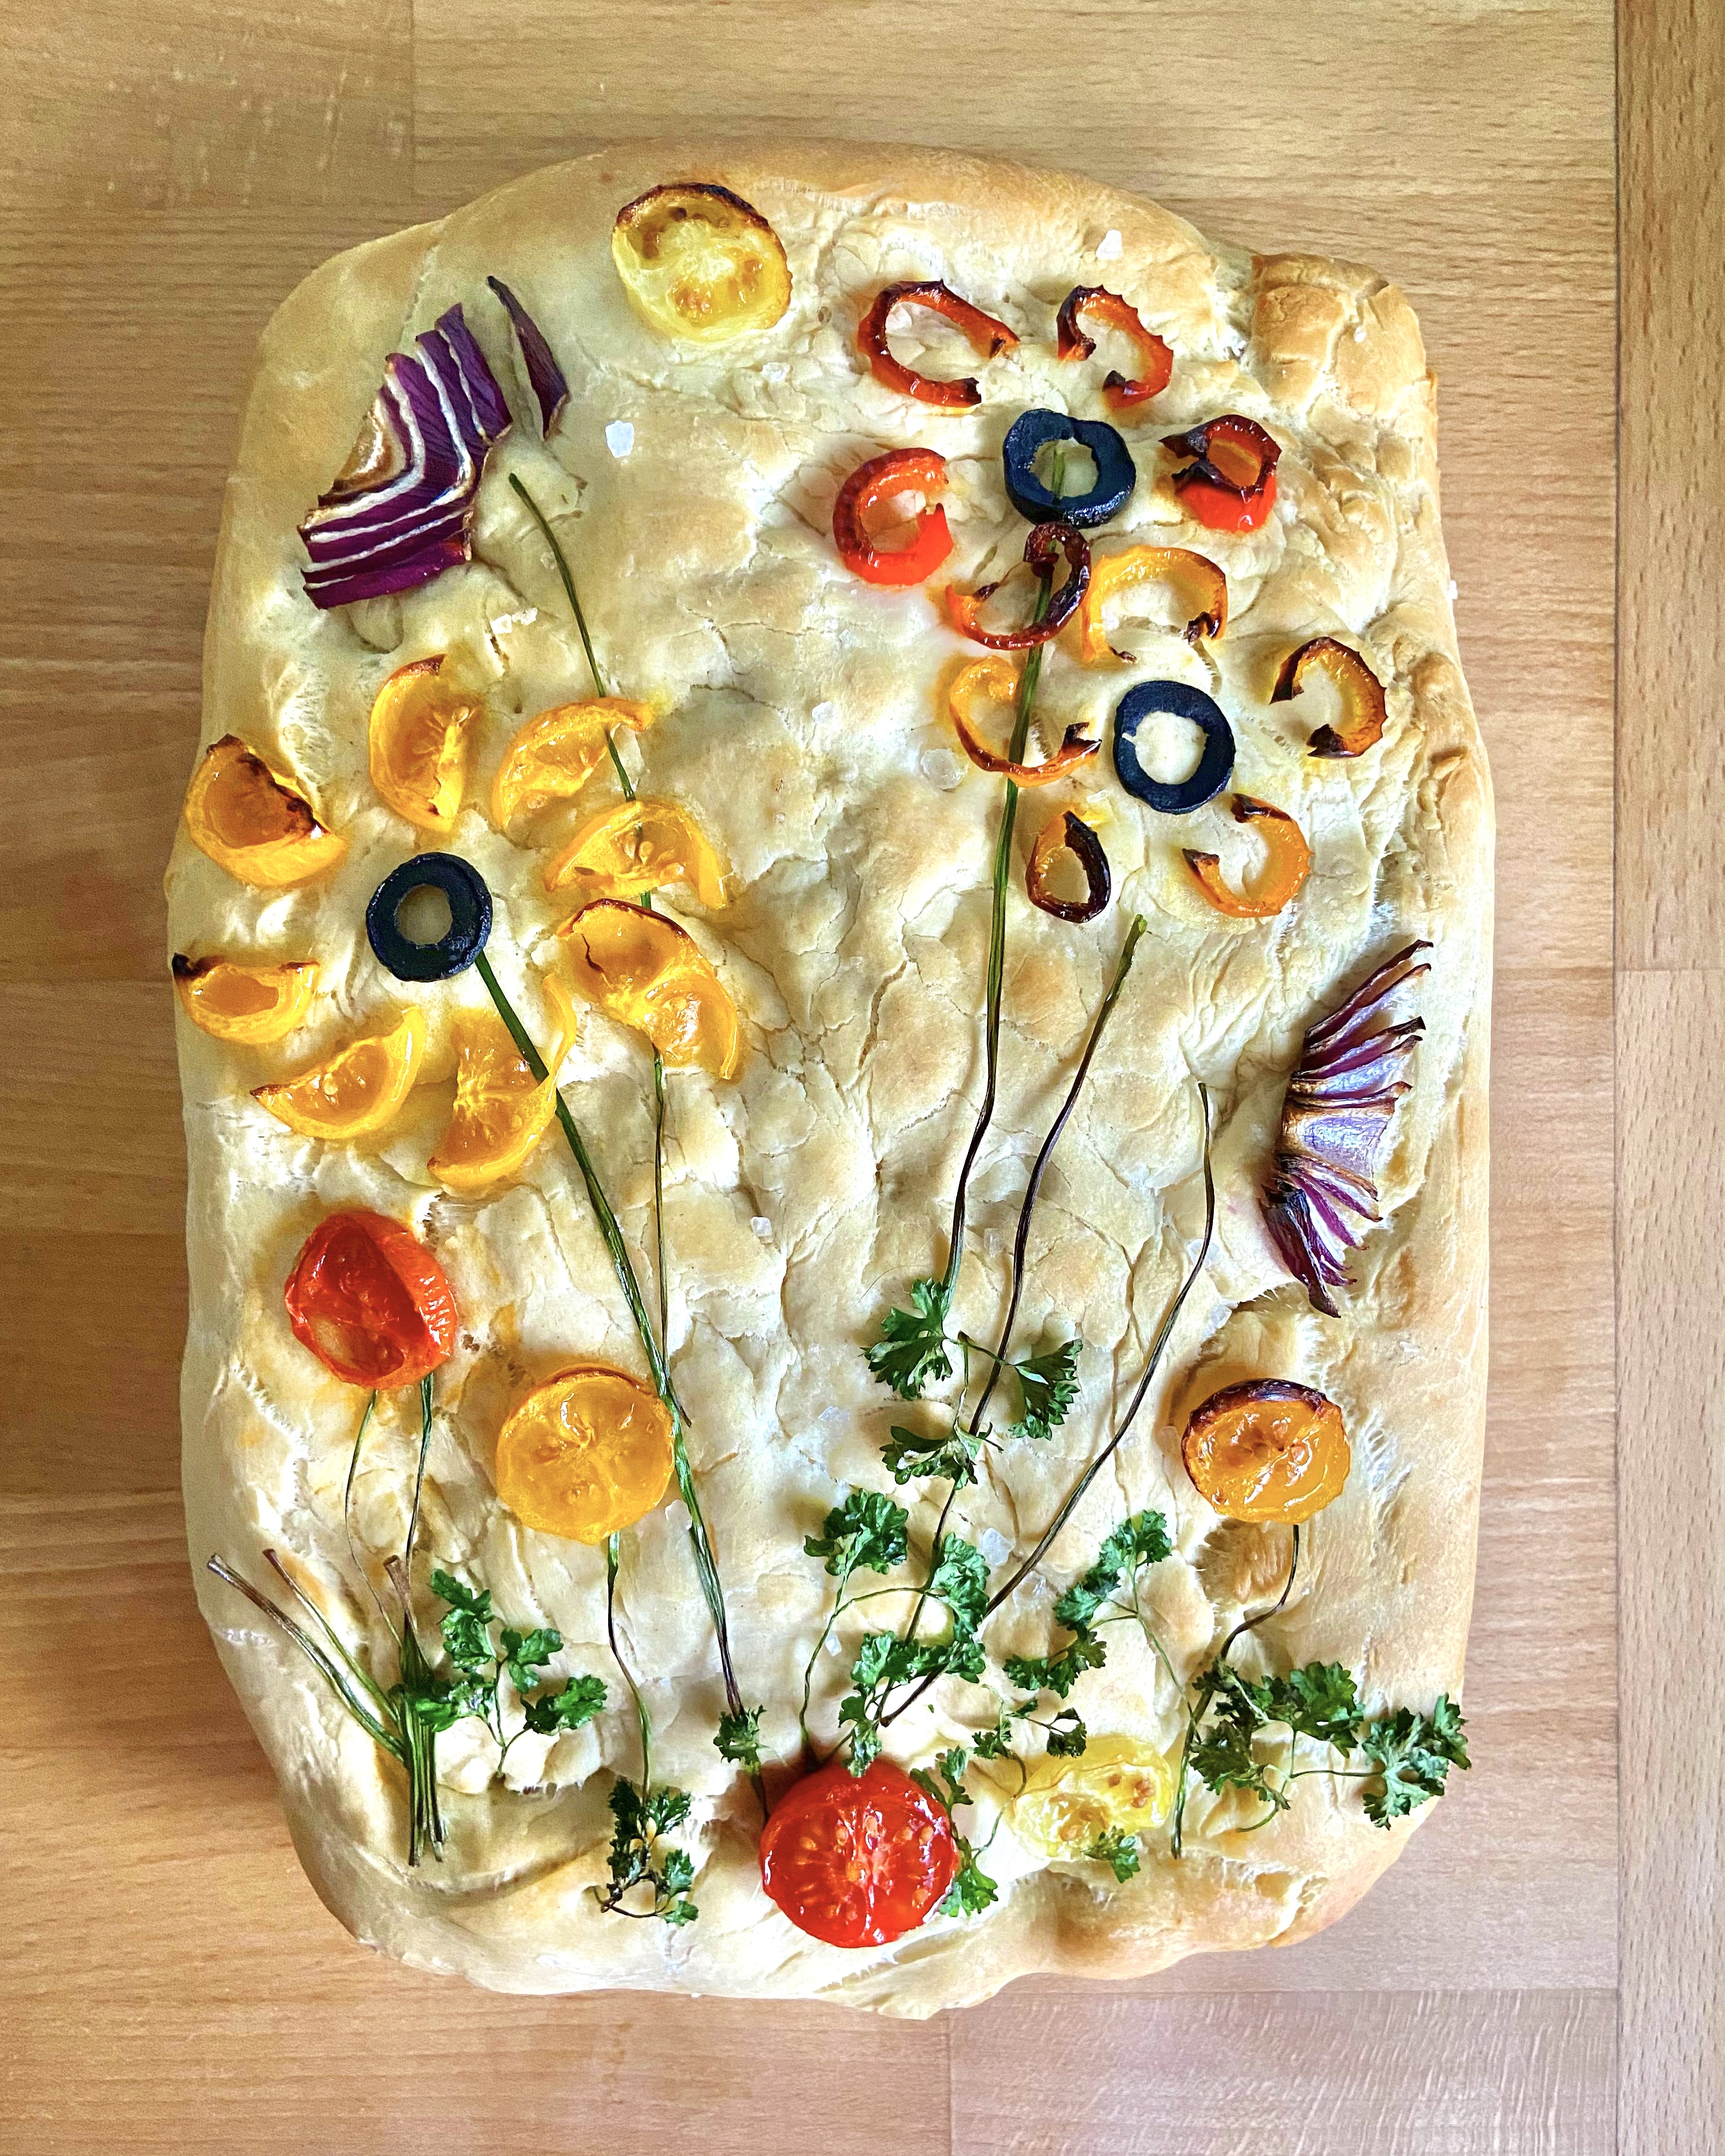
YOU SEE??
To be honest, I probably need to apologise for the quality of the pictures in this post. It was lockdown, I was lazy – I don’t know, I just didn’t have the enthusiasm for lights or a proper camera. It’s not as bad as the photography in my Pizza Hut vs Dominos review mind you. We can all be grateful for that.
Anyway the gist is that it’s not that hard to make your own flower art bread, it’s just a little time consuming. Totally worth it though if you are a show off like me. You could casually turn up at a PTA picnic with your homemade loaf and be all ‘Oh this? Oh it’s nothing, just some focaccia art bread, nothing fancy.’
You’d be lying of course, because it’s super fancy.
Focaccia flower art bread ingredients
To make your own focaccia art bread you will need:
- 450ml warm water split into two
- 1 tbsp granulated sugar
- One sachet (7g) active dry yeast
- 680g bread flour
- 4 tbsp olive oil
- 1 tsp regular table salt
- 1 tbsp fancy flakey salt
- 100ml olive oil for the pan and for drizzling on top of the focaccia after rising
- 2 tbsp chopped, fresh rosemary
- Vegetables and herbs for topping
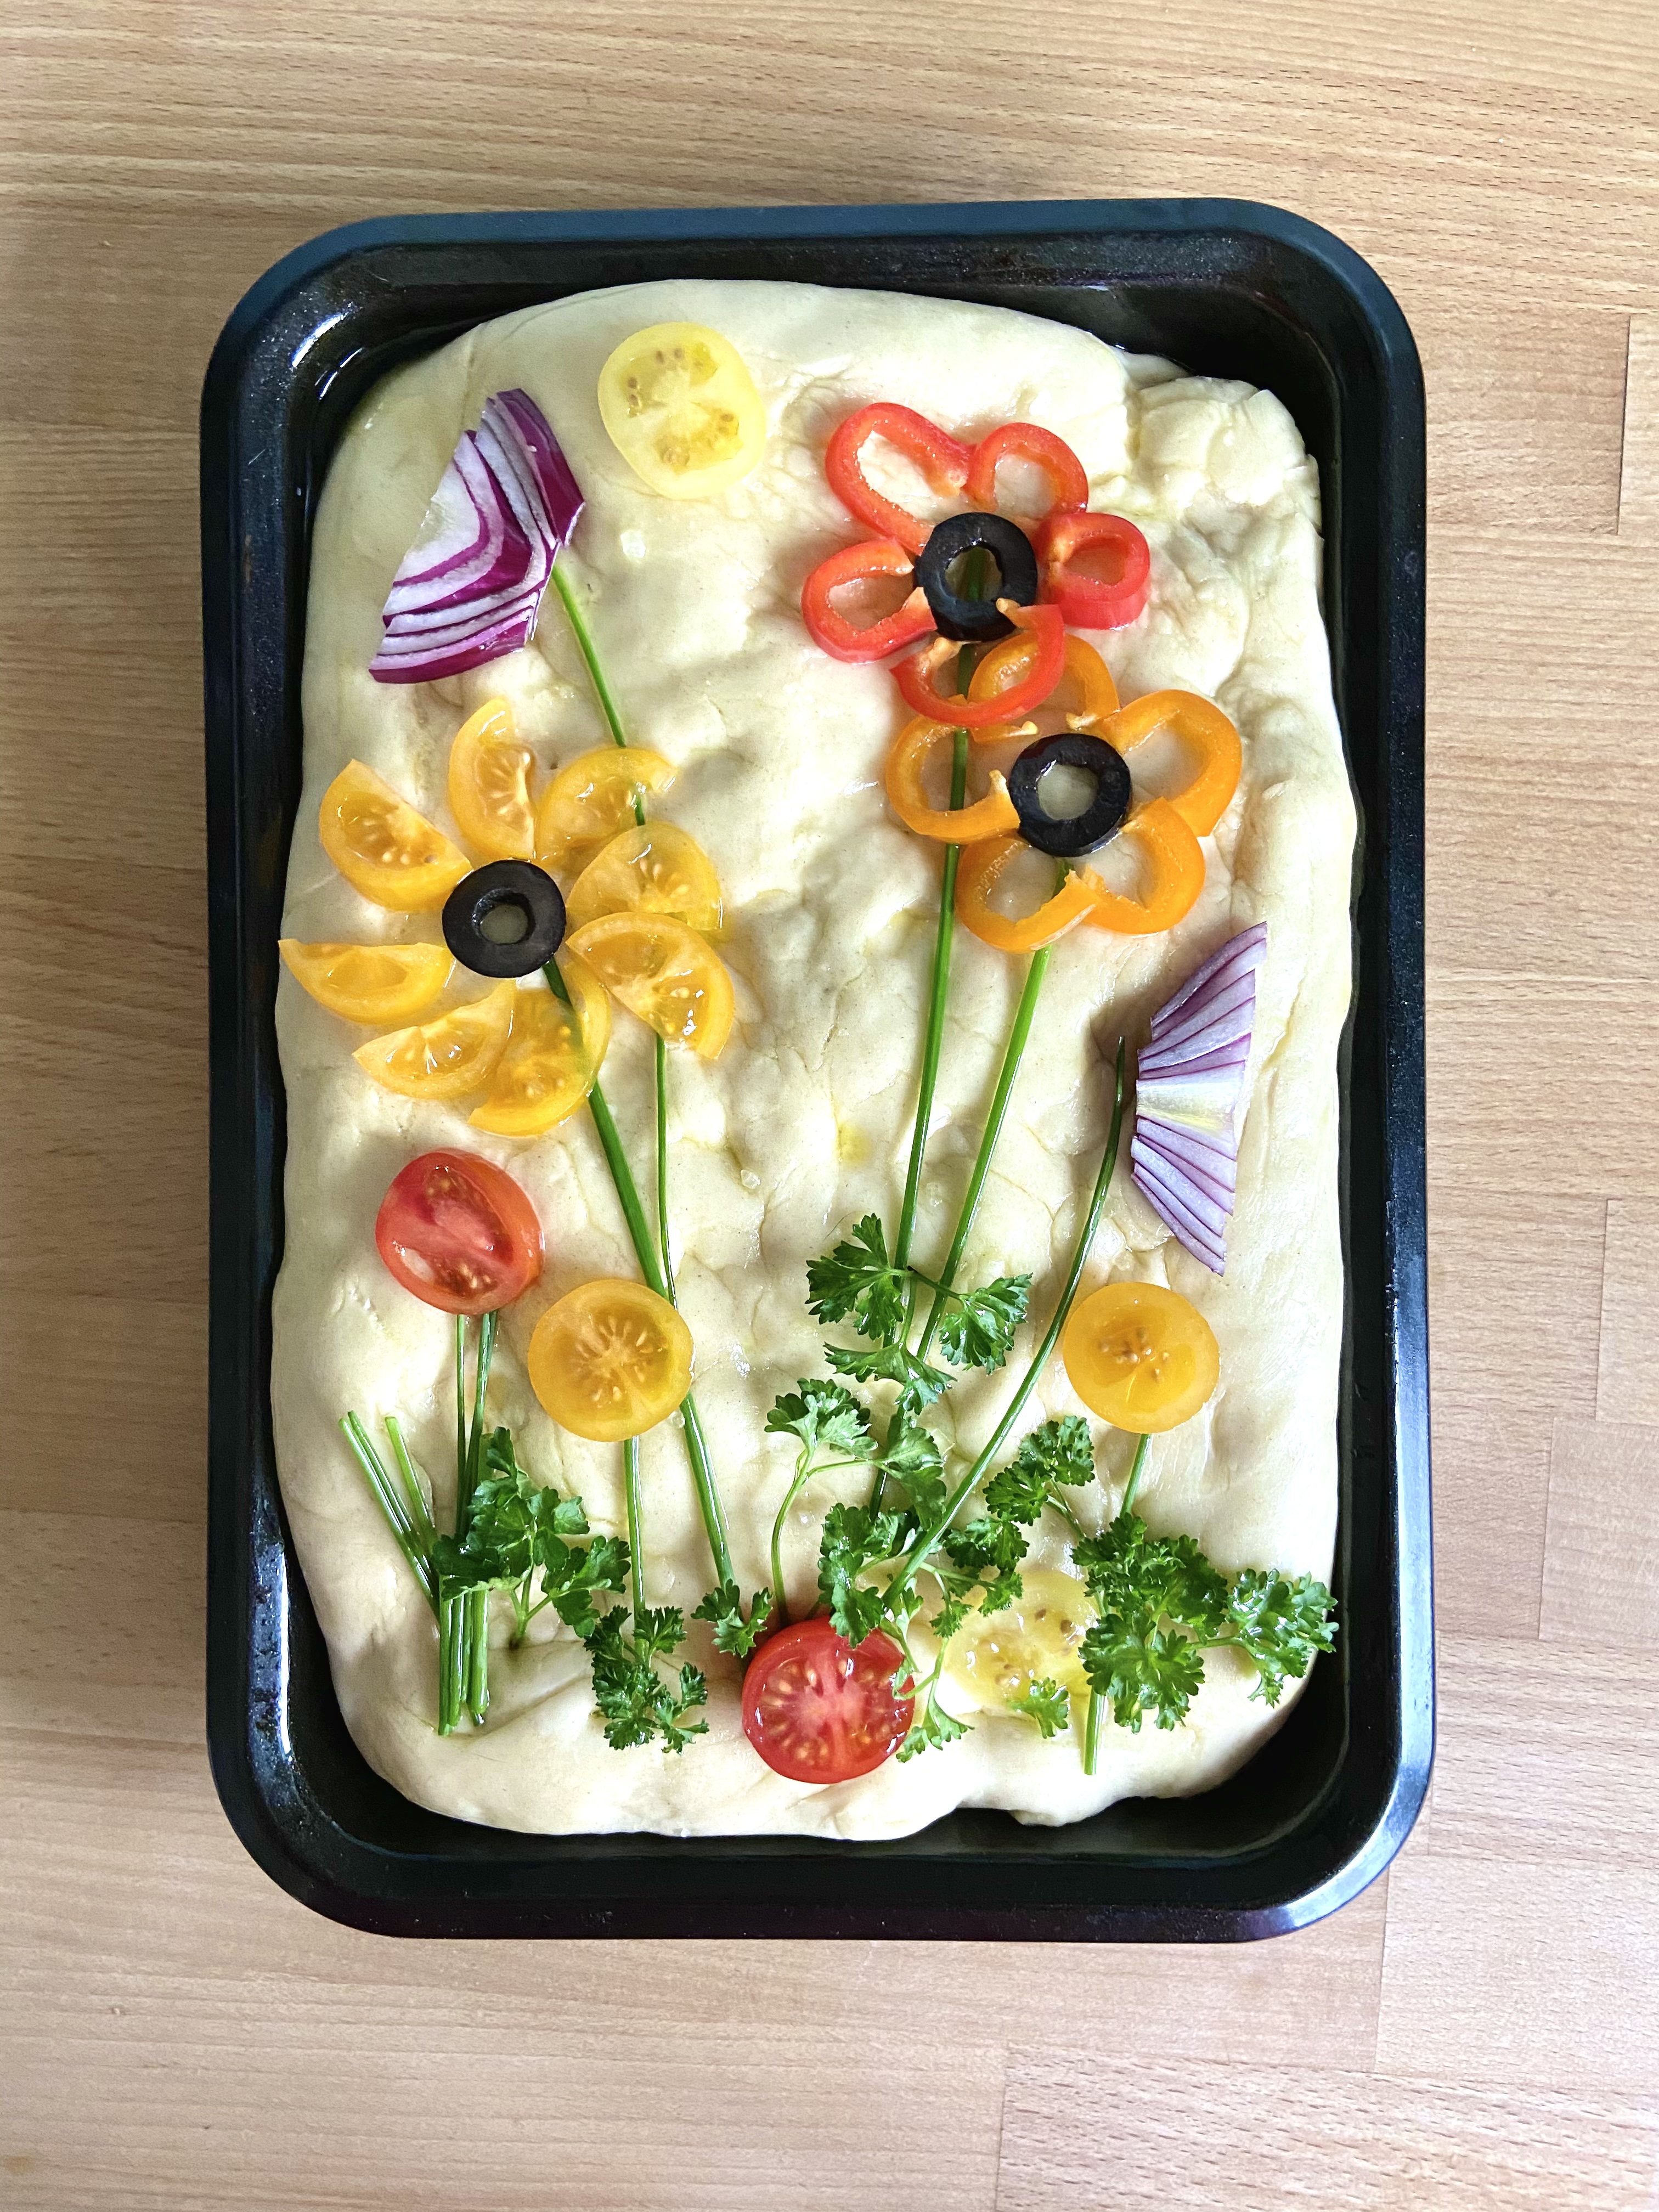
You can be creative in terms of what you use to decorate your focaccia bread, but make sure to get a good mix of colours and textures. Chives and parsley are good for flower stems and leaves and mini peppers sliced into rings work well for flower petals. I especially liked the red onion, thinly sliced to look like flowers.
There are loads of examples of focaccia bread art online so you can always have a browse first for some inspiration.
How to make your focaccia art bread
This focaccia works best if it’s proved overnight for the flavours to develop, so if the PTA picnic is in three hours then you’re out of luck – best stop at Tesco for some of those mini caramel shortbreads in a plastic tub. Otherwise carry on.
Start by mixing half the water with the yeast and sugar, and leaving it for a few minutes until it looks foamy. Add about a cup of the flour and mix until well combined, then add the rest of the water, the 4 tbsp of olive oil, table salt and half the remaining flour and give it a good mix about with your hands. (Note: you could do this all with a stand mixer but I don’t have one because I’m a Tesco shortbread kind of mum.)
Keep gradually adding the rest of the flour and mixing until it all comes together into a soft but not sticky dough. Tip it onto a lightly floured surface and knead until the dough is smooth and springy. It needs to bounce back when you touch it. Pop it in a oiled bowl, cover and leave in a warm place for 1-2 hours until it has doubled in size.
Put enough olive oil into a large baking tray so that there’s a thin layer covering the bottom. Tip your dough out into the tray and stretch it out the fill the space. It should be very loose and might be a little sticky – you might need to oil your hands too. Once it’s spread out, cover in cling film and put it in the fridge for the flavours to develop overnight.
The next day, (the day of the PTA picnic), is when you decorate and bake your focaccia flower art bread. Take it out about a half hour before you’re ready to bring it up to room temperate, poke holes in it with your fingers, drizzle it with olive oil and sprinkle with the fancy flakey salt.
Then it’s time to get decorating! Mine is a relatively simple design, but you can get as creative as you like with different herbs and vegetables.
At the time I made my focaccia art bread I did actually make a little Instagram video, which is worth a watch to give you an idea of how I laid everything out.
Once you’re happy with your design, give everything a final brush with oil and pop in the oven at 230 degrees (210 fan) for 20-25 minutes or until the bread has turned golden brown.
Your focaccia art bread is best served as fresh as possible, so get to that PTA picnic quick sharp.
I did this with my two grandkids. it was a mess but they LOVED it!
Author
I think as long as you all enjoyed yourself that’s the main thing :-)
Another time, we made veggie sushi and that was fun too. Food related activities are great!