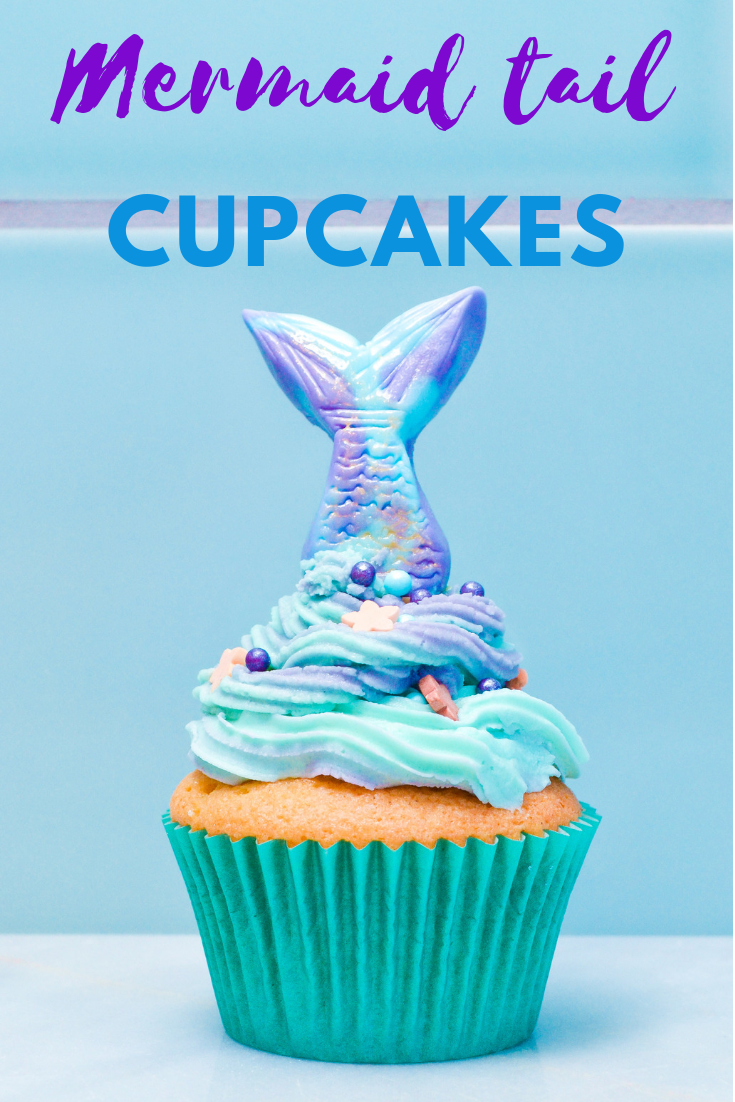
Today I put Belle to work in the kitchen to create this mermaid tail cupcakes tutorial for you, because as you may know, she secretly wishes she WAS a mermaid. I hovered about taking photos and offering ‘constructive criticism’. Great fun was had by all.
A while ago I went to a black tie dinner thing in a silver sequinned jumpsuit and crimped hair. The look I was going for was ‘disco mermaid’. I scoured the shops for mermaid jewellery, thinking for sure that I would find some big, tasteless scallop necklace in Claire’s at least, but no luck. Apparently mermaid jewellery isn’t a thing anymore.
Mermaid cupcakes though. Mermaid cupcakes are very much a thing.
I thought it might be fun to put together a little mermaid tail cupcakes tutorial for you using the new Dr Oetker mermaid cupcake decoration kit. They aren’t paying me to write this, but they did send me the kit to try, and it was fun, so here we are.
Mermaid tail cupcakes tutorial – step one
The first step is to make the actual tails as these need to dry out, ideally overnight, so as to make them solid enough to stand up. Everything you need for the tails is in the kit, and each kit will make about six tails. The kit comes with white fondant icing, two colour gels, two sachets of sprinkles and some gold writing icing. It also gives you full instructions for making the cakes, icing and decorations. You could do it without the kit, but it is handy having everything you need right there in one place.
Start by splitting the white fondant into two equal balls, and adding a little of each of the two coloured gels to each ball and working it in, giving you a purple ball of icing and a turquoise ball of icing. Split each coloured ball into six, and pair them off so that you have six balls, made of one ball of each colour. Work the pairs together so that the colours start to marble together.
(I’m not sure I explained that terribly well, but essentially you make two different colours and mix them together.)
Step two – shape your mermaid tail cake toppers
Then you need to shape each ball into a tail. The kit does come with a template, but it’s not really difficult – flatten them out into a sort of chunky oblong, then pinch in the middle to make the base of the fin. Use the back of a knife then to help you separate the fin into two, and pinch the ends to make them pointy.
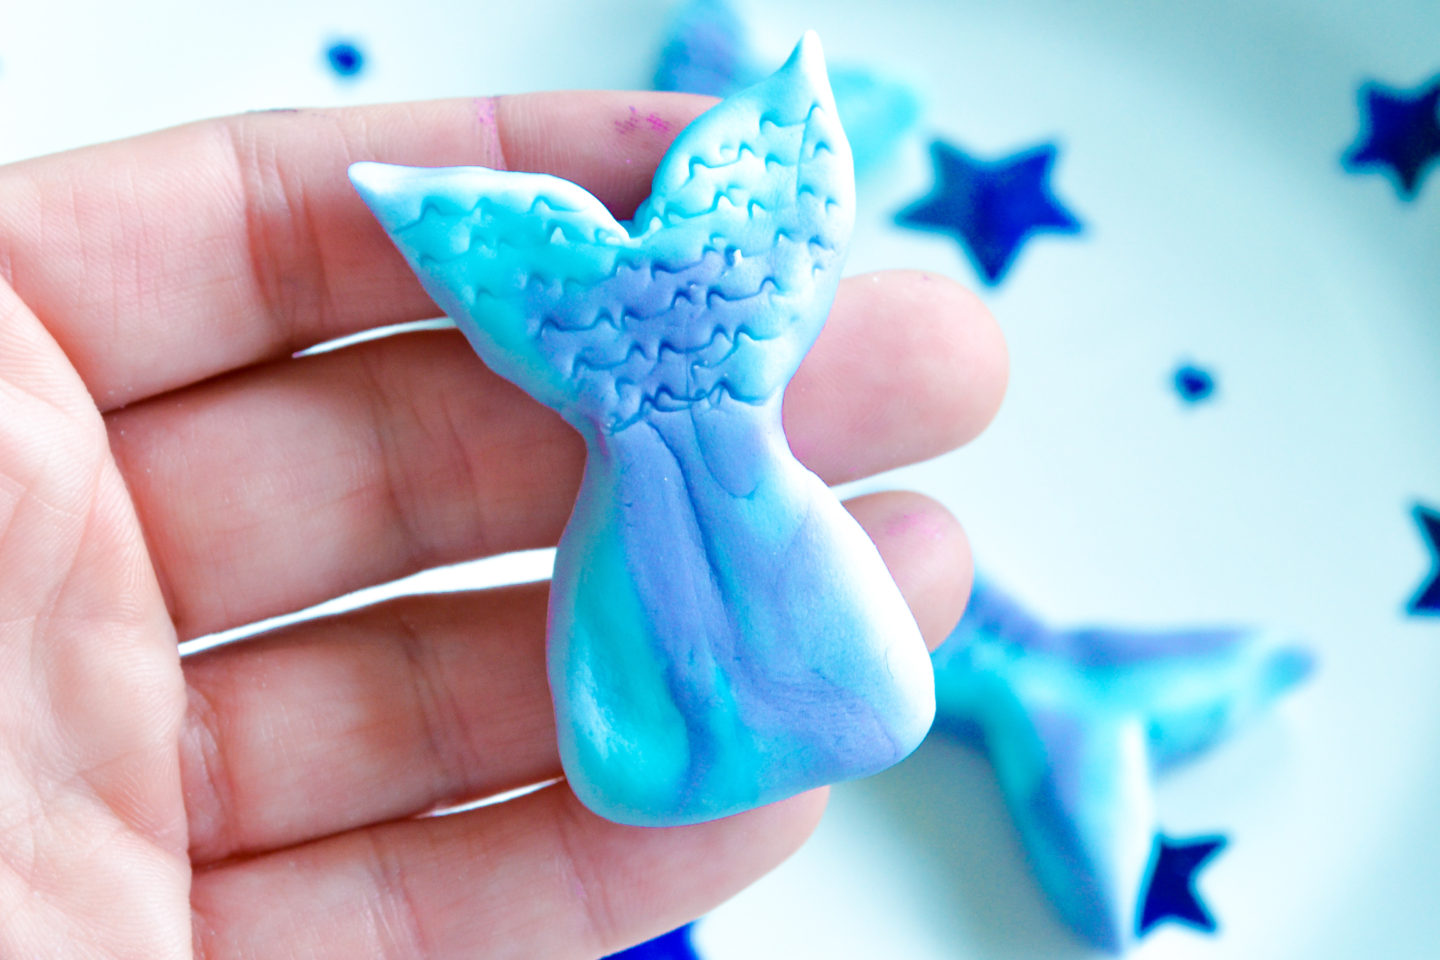
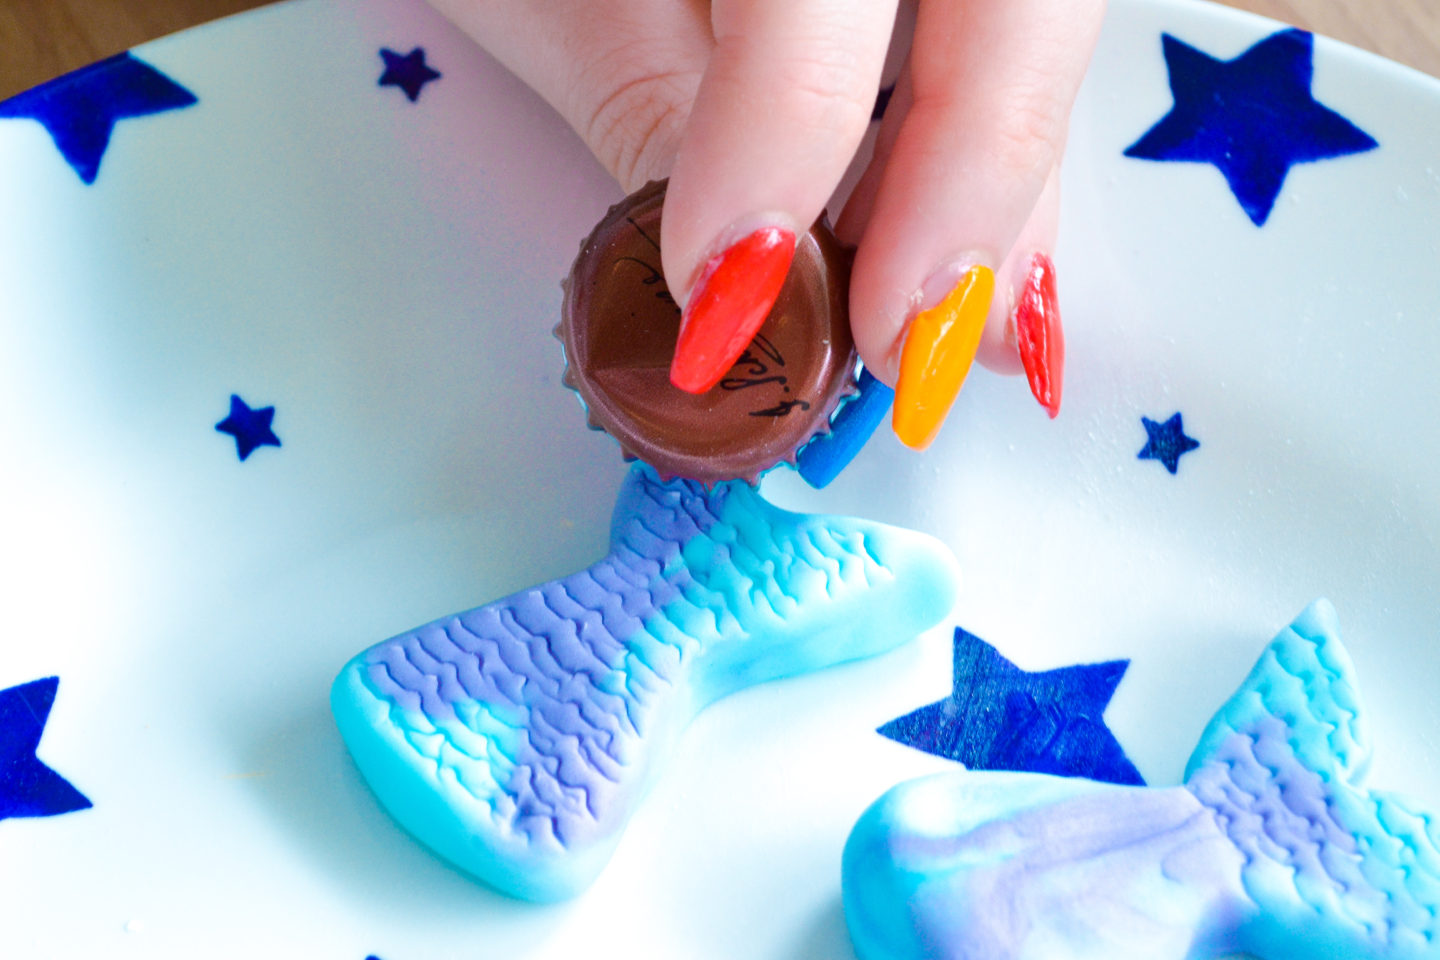
You can then decorate your tails with patterns if you want to. Belle found an old beer bottle top in our cutlery drawer which did an excellent job of creating scales. Finish the mermaid tails by rubbing a little of the gold writing icing across them with your finger to give them some shimmer. Leave to set.
Step three – make a batch of cupcakes
Once you’re happy that the mermaid tails are ready to go, you can make the cakes. For this you just need to whisk together 6oz each of soft margarine, caster sugar and self-raising flour, three eggs and a splosh of vanilla essence. Split your mixture between 12 cupcake cases and bake in a 180 degree oven for around 20 minutes or until the cakes are springy. Leave to cool
Step four – make your mermaid cupcake icing
While the cakes are cooling, make up a batch of butter icing. We didn’t exactly measure this bit, so use your best judgement. (You’d don’t get to be 40 years old and the parent to two basically grown-up children without being able to make butter icing by eye.) I’d say it was around 4oz of softened butter, and then enough icing sugar to make a butter cream consistency. Add the icing sugar slowly – it will take more than you might think.
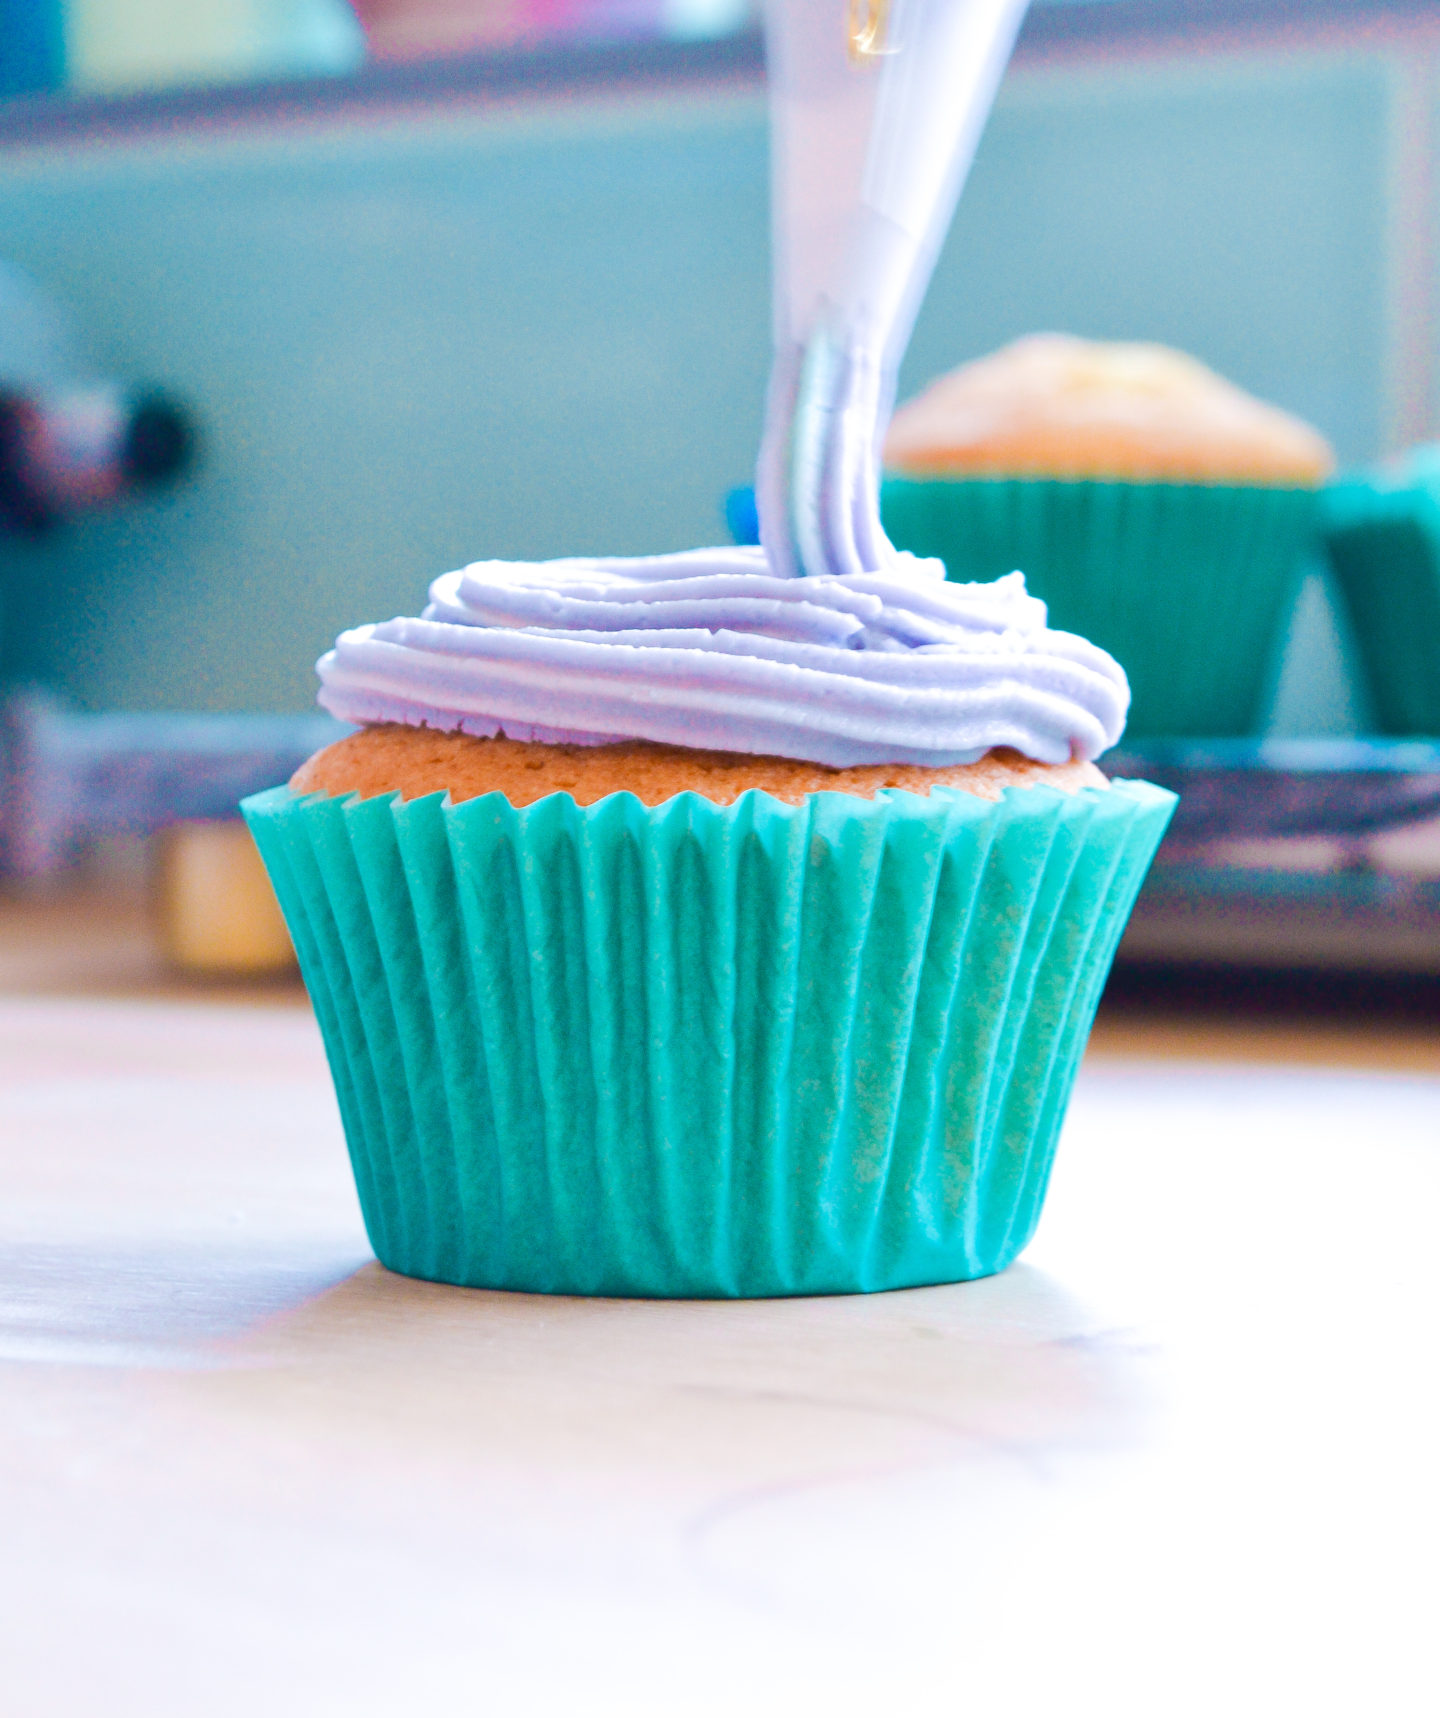
Separate the icing into two bowls and add purple colouring to one and turquoise to the other. Add the icing to a piping bag, doing your best to get purple in one half and turquoise in the other, so that when you pipe it the icing comes out marbled. Don’t worry too much about this though, it will mix itself up well enough eventually. Pipe icing onto the top of each cooled cake.
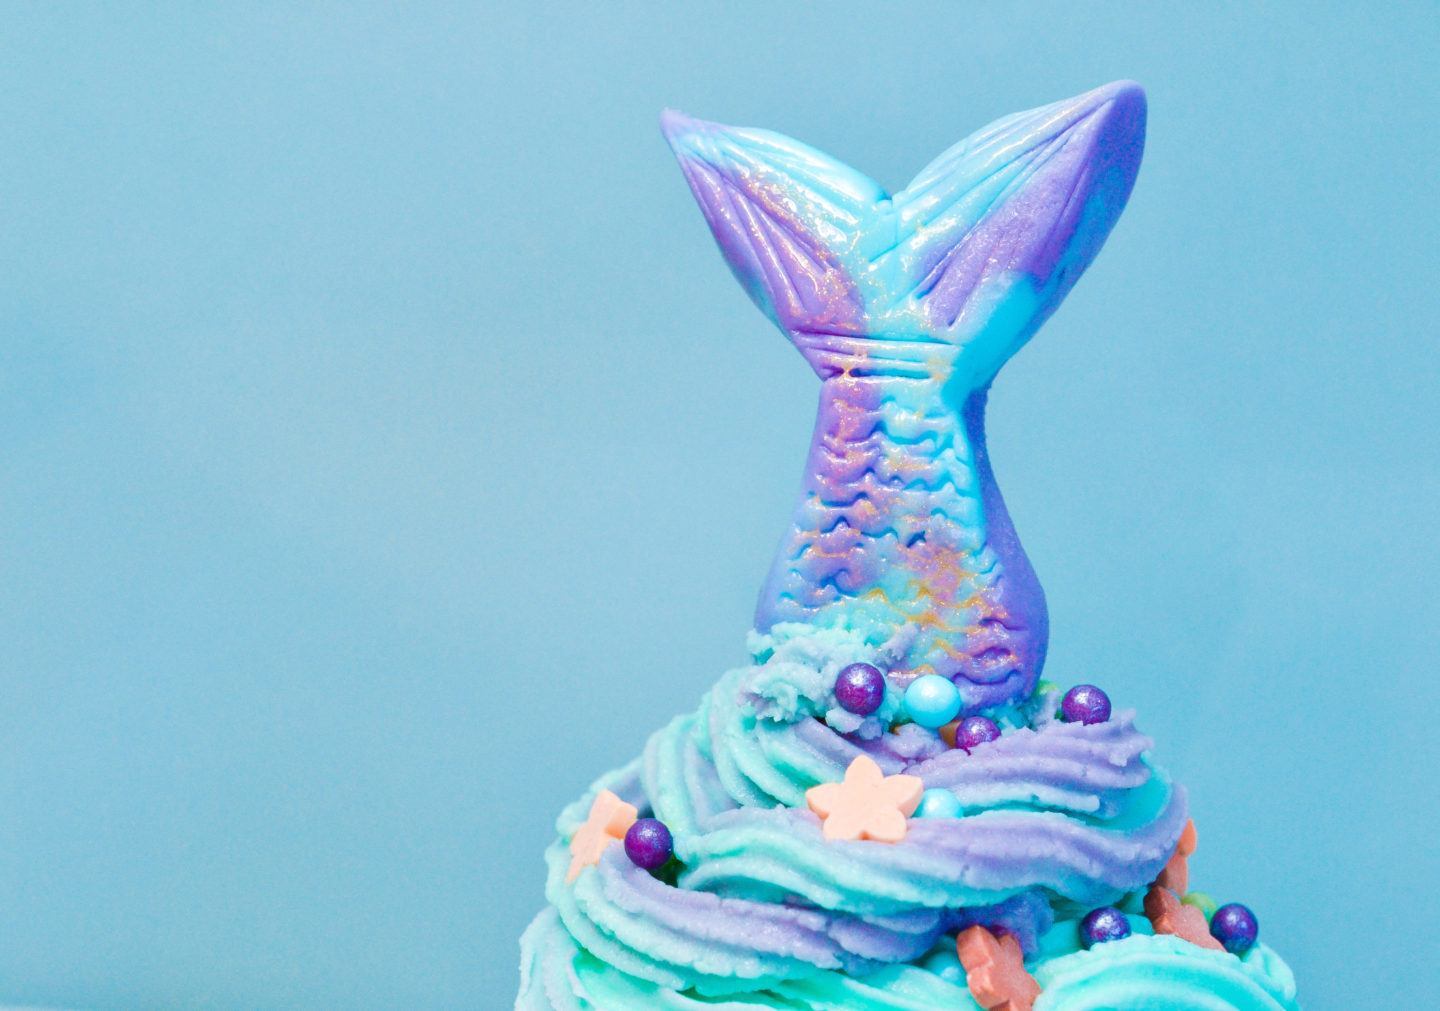
Step five – assemble your mermaid cupcakes
Now your mermaid cakes are iced, you can add sprinkles from the mermaid decoration kit and add your tails. To give the mermaid tails a little extra stability you can use cocktail sticks – stick half into the base of the tail and use the other half to secure the tail into the cake.
And there you have it – that’s the end of my mermaid tail cupcakes tutorial. Now you just need a gaggle of small mermaid fans around for a mermaid party, with the cupcakes at the centre of the buffet table.
OR take them into school for the next bake sale and be all ‘oh THESE? I just whipped these up this morning between the school run and my hot yoga class.’
Enjoy!
Did you like Belle’s mermaid tail cupcakes tutorial? Why not share this post or pin it for later!