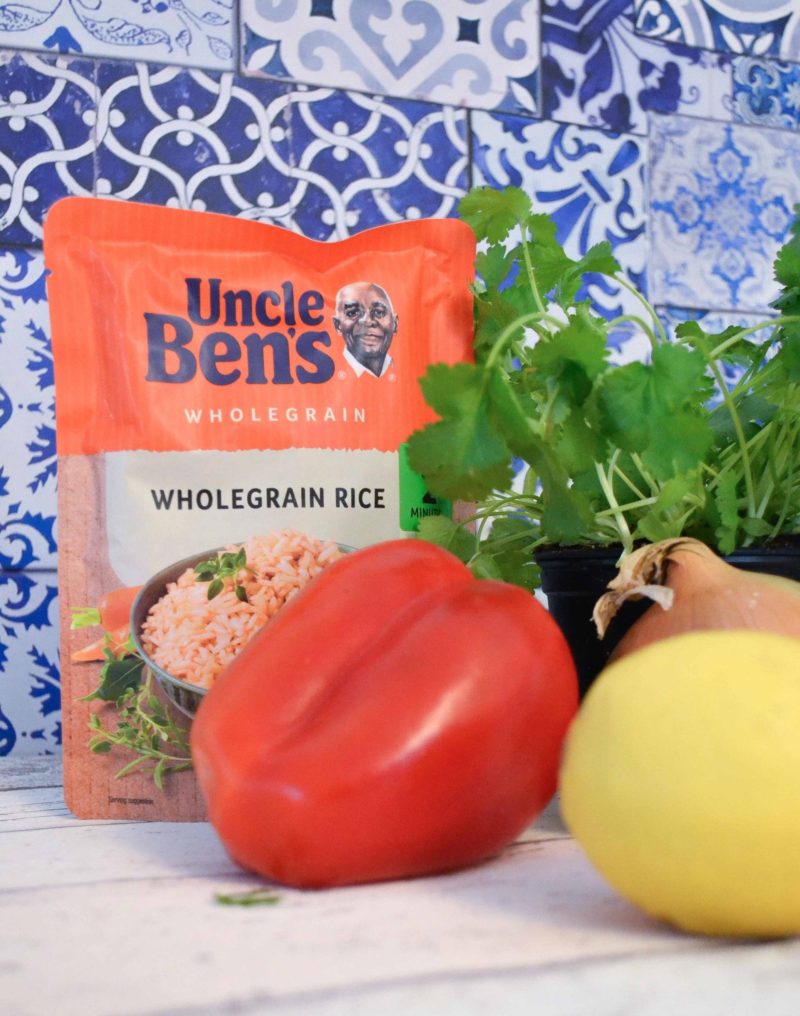
This year Uncle Ben’s pioneered the first ever Cook With Your Kids Day as part of their Ben’s Beginners initiative. The idea behind Ben’s Beginners and Cook With Your Kids Day, which is on October 15th, is that we’re a bit rubbish when it comes to teaching our kids the basics of food preparation. Okay, so ‘a bit rubbish’ is maybe a little harsh, but you know what I mean. We get so focussed on academic teaching – SATS and spellings and reading levels – that we loose sight of key skills like cooking.

I’ve always been pretty good at cooking with my own kids when it comes to baking, but that’s really just because I want them to be able to cook me treats. I’m a bit less on the ball when it comes to actual meals.

(To be honest, I’ve never been good at actual meals generally. I hate food shopping, and will normally leave Sainsbury’s with a collection of random items like ice cream cones and radishes rather than useful ingredients for things.)

It wasn’t long ago for example that I had a text message from Bee in London. Bee is an expert baker, but clearly I’ve not taught her so well on the savoury front.

‘How do you make stir-fry?’ her text read.

I wasn’t sure how to answer that.

‘Well, the clue is sort of in the name…’

This week though Belle and I made chicken curry. With actual spices! And vegetables! Fancy.

easy chicken curry recipe View Post

Follow:

I’m normally not very good at making things in burger shapes. Things tend to fall apart. Not in a metaphorical, head-in-hands, weeping on the kitchen floor way, but literally – I can’t make them stay together in the pan. If they have onion in I never chop it finely enough and anything that is more of a paste ends up just a mess. Definitely more of a hash than a burger. You can imagine then how excited I was to try out these spicy chickpea burgers.

*voice drips with sarcasm, eyes rolling dramatically*

Actually though, these spciy chickpea burgers were pretty good! They were dead easy to make, I held myself and the burgers together, and they were absolutely delicious. The lovely bright, fresh ingredients make for super Instagram pictures too, which is basically what I look for in just about any activity.

So, pinnies on, blenders loaded, here we go… View Post

Follow:

If there’s one thing I know how to make, it’s a crumble. Bit of fruit, sugar, butter – what can go wrong? It’s also very hard to burn. Not like rice, which I have learnt the hard way does not like being forgotten about.

This is my recipe for apple and cinnamon crumble – a festive twist on an old favourite that’s a perfect Sunday lunch pudding. As you may pick up on when you read the ingredients list, this is my second post as part of the Whitworths baking challenge. (In all seriousness, I’ve been very impressed with the range of Whitworths sugars, especially the new resealable bags – genius.)

What you need:

About 1kg of cooking apples (or however many fit nicely in your dish), peeled and cut into chunks
25g of Whitworths light brown soft sugar
1tsp ground cinnamon

Then for the topping:
100g butter, cubed
100g Whitworths demerara sugar
175g plain flour
25g oats
Another spoonful of cinnamon

What you do:

Crumble is dead easy. First off, preheat the oven to about 180 degrees. Next, peel and cut up your fruit, put it in a suitable dish and sprinkle with the sugar and cinnamon. Give it a bit of a mix to spread everything about evenly.

"cooking apples"

Rub the butter into the flour until it looks like fine breadcrumbs. Mix in the sugar, oats and cinnamon. Spread this evenly over your fruit. That’s it! Easy peasy.

"Apple and cinnamon crumble"

Pop it in the oven for about 30-40 minutes until the topping has turned a little golden or until you just can’t wait any longer and just have to get it out and eat it. Be careful though, the fruit will be hot.

After you’ve eaten a couple of bowls of crumble, have a little lie down on the sofa and complain for a while about how full you are. Feel slightly guilty, but mainly just pleased with yourself.

Follow:

Bee is a bit of a dab hand in the kitchen when she wants to be, and after giving her recipe books as Christmas and birthday presents for the last two or three years, she has recently finally got the hint and started making me some cakes.

“Hooray!” I cheered.

“Is that why you’ve been buying me cake books all this time?” she asks, eyeing me suspiciously.

Well dur.

For ages now I’ve been wanting her to try out the giant silicone beehive cake mould we got from Betterware. I thought it would be cute, a Bee baking bees, so this week she gave it a go.

This is the mould, and this is what you’re aiming for in the end:

"beehive cake mould"

"beehive cake"

She used this recipe, taken from the Betterware blog, created especially for the mould:

You will need

  • 170g Clear Honey
  • 140g Unsalted Butter
  • 85g Light Muscovado Sugar
  • 2 Medium eggs
  • 200g Self Raising Flour
  • Bee Hive Silicone Mould

Inside the cake

  • 55g Icing Sugar
  • 1 tablespoon Clear Honey
  • Hot Water

To decorate

  • 75g Icing Sugar
  • Water


Here’s what you do

  1. First up pre heat the oven to 180c/350f/Gas 3
  2. Grease the inside of your mould lightly with butter or cake release. Make sure you grease every crease and fold to ensure your cake is easily removed once baked. This is a really crucial bit, so I stood and watched over Bee’s shoulder as she greased, saying really unhelpful and annoying things like ‘make sure you grease everywhere really well’.
  3. Add the honey, muscovado sugar, butter and a tablespoon of water into a large pan. Gently heat until the mixture is melted
  4. Beat eggs and sieve flour Everything seemed to be going well at this point, so I retired to the lounge for a little sit down.
  5. Remove from the heat and mix in the eggs and flour
  6. Spoon mixture evenly into both sides of the mould and bake for 40 to 45 minutes. Your cake should be springy to touch. Poke a sharp knife through the cake, if it comes out clean your cake is ready. I’d been sitting down for some time, and was getting concerned that the spooning stage was lasting quite a long time. I went into the kitchen, where I found Bee looking grumpy. “It’s rubbish,” she said, “you can’t put it in the oven because it just flops all over the place.” I gave her one of the looks I always mean to be sympathetic but which tend to come out as patronising, got out a baking tray to put it on, and we were back on track.
  7. Leave to cool on a wire rack before gently removing the cake from the mould

It was at the ‘bake for 40-45mins’ bit that things went a bit wrong. 40 -45mins is a long time, and after 30 minutes, our beehive was already blackening around the edges. Whether it was user or designer error I don’t know, but the mould had bent out of shape, weighed down with cake mixture, meaning it didn’t rise evenly. I think we’d need to practise this a bit.

"beehive in the mould"

On the plus side,  the pattern looked really good when you turned it out, but the way it had risen just wasn’t conducive to constructing a beehive. We tried trimming it, to create flat surfaces that we could stick together, but the amount we had to trim meant we were really just left with a 2D drawing of a beehive.

"beehive cake"

I asked Bee to sum up her beehive baking experience, and here’s what she said:

Pros

  • Recipe was easy to do
  • Mould was easy to grease
  • Pattern came out nicely

Cons

  • Mould was a bit flimsy
  • Rose weirdly
  • Wasn’t the tastiest cake ever
  • Couldn’t stick together
  • Got annoyed with it a lot

So there you go, that sums it up pretty nicely I think.

Follow: